ORDER IN THE CLOSET
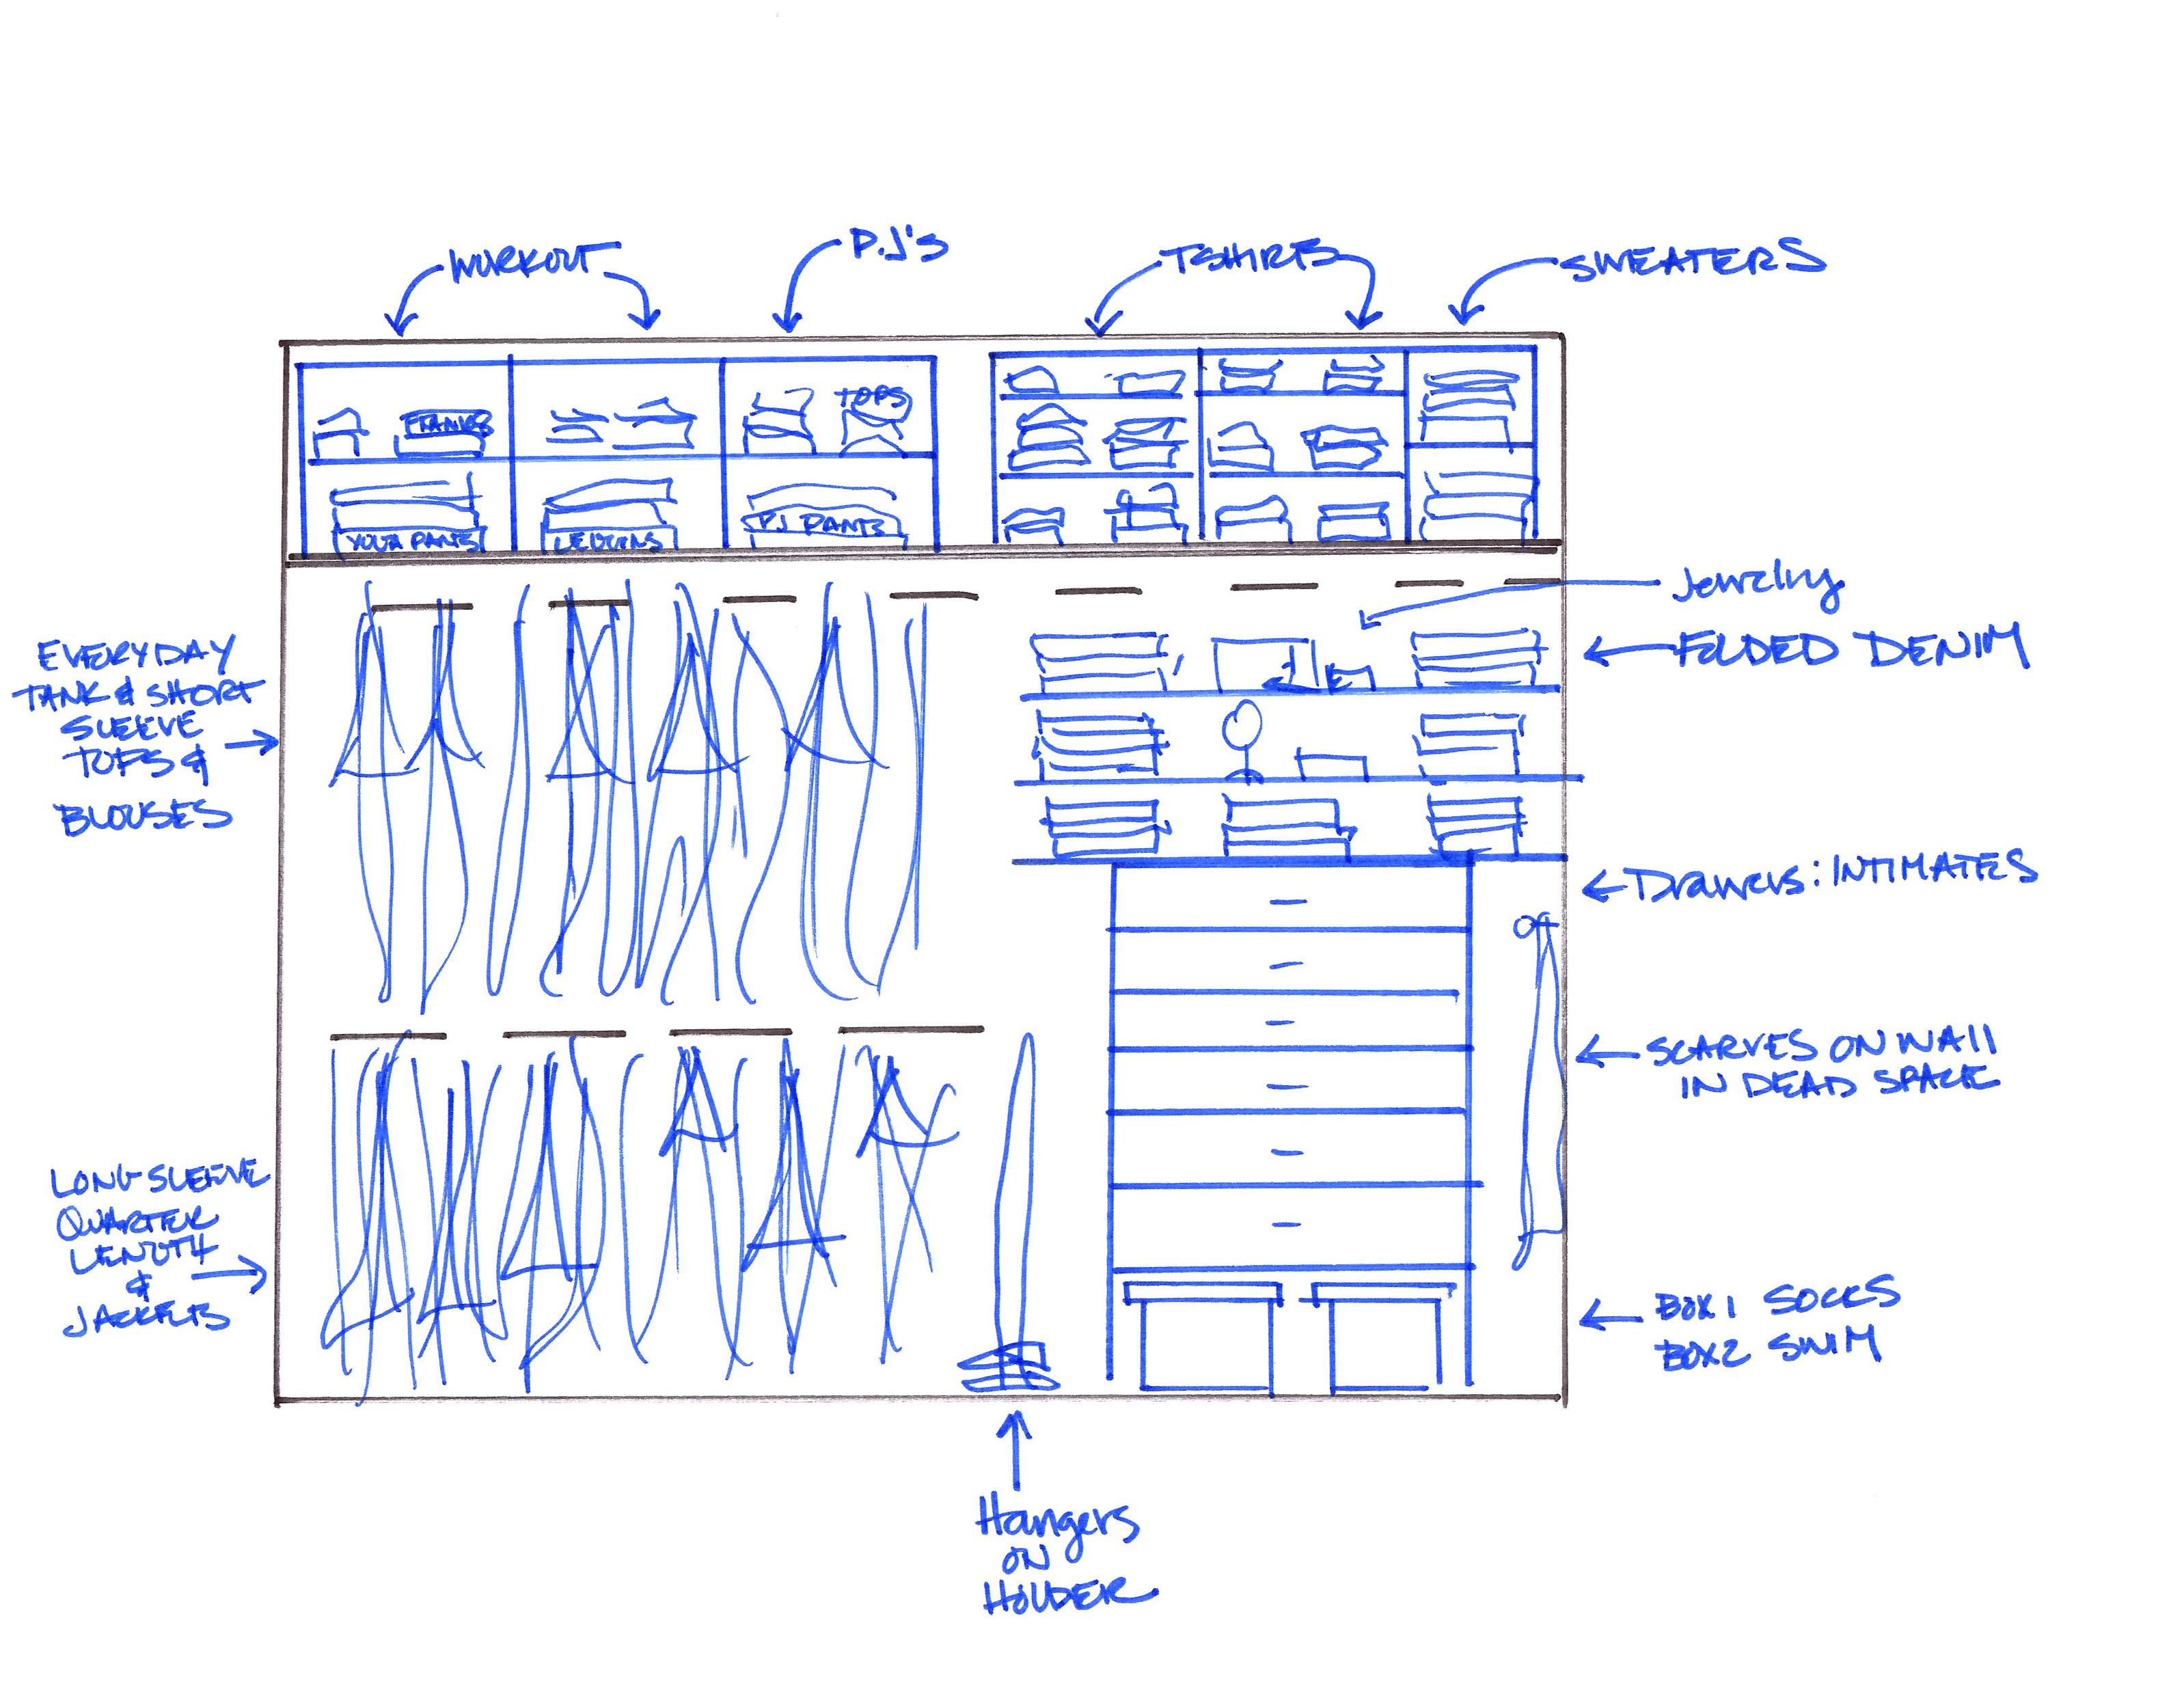
 I always start any organizing project by taking the appropriate time to think about the function of the space. I am not a fan of personal organizers who just shell out advice on how they would organize it and expect people to maintain order doing it their way. You are the only one who knows how your life functions, so you are the only one who can decide how your clothing should be categorized so you can maintain on a DAILY BASIS. I usually have this dialogue with my clients, so I am going to walk you through the process for planning your layout. There is no fast fix, you have to take the time to plan and analyze your closet and how it works with your daily routine. Take 30 minutes to write down what you think is not working. Do you need more shelving? More hanging space? This will help you shop for storage solutions in the coming weeks when we go over each section of the closet. Now, let’s not forget…you only have the space you have. I will keep reminding you about this, hopefully you have purged by now and have the appropriate amount of clothing for your space. You have to balance your dream closet with reality. I am a visual person, so I created this diagram. It helped me see what space I had to spare and where items would fit best. Plus, you can scratch off and make changes before you actually move things around. This was my third draft. It’s much easier to move things around on paper, instead of while you are installing your closet components. And, while organizing, a Mold Remediation Company can ensure that your space stays free from moisture, protecting your clothes and storage areas from mold-related damage.
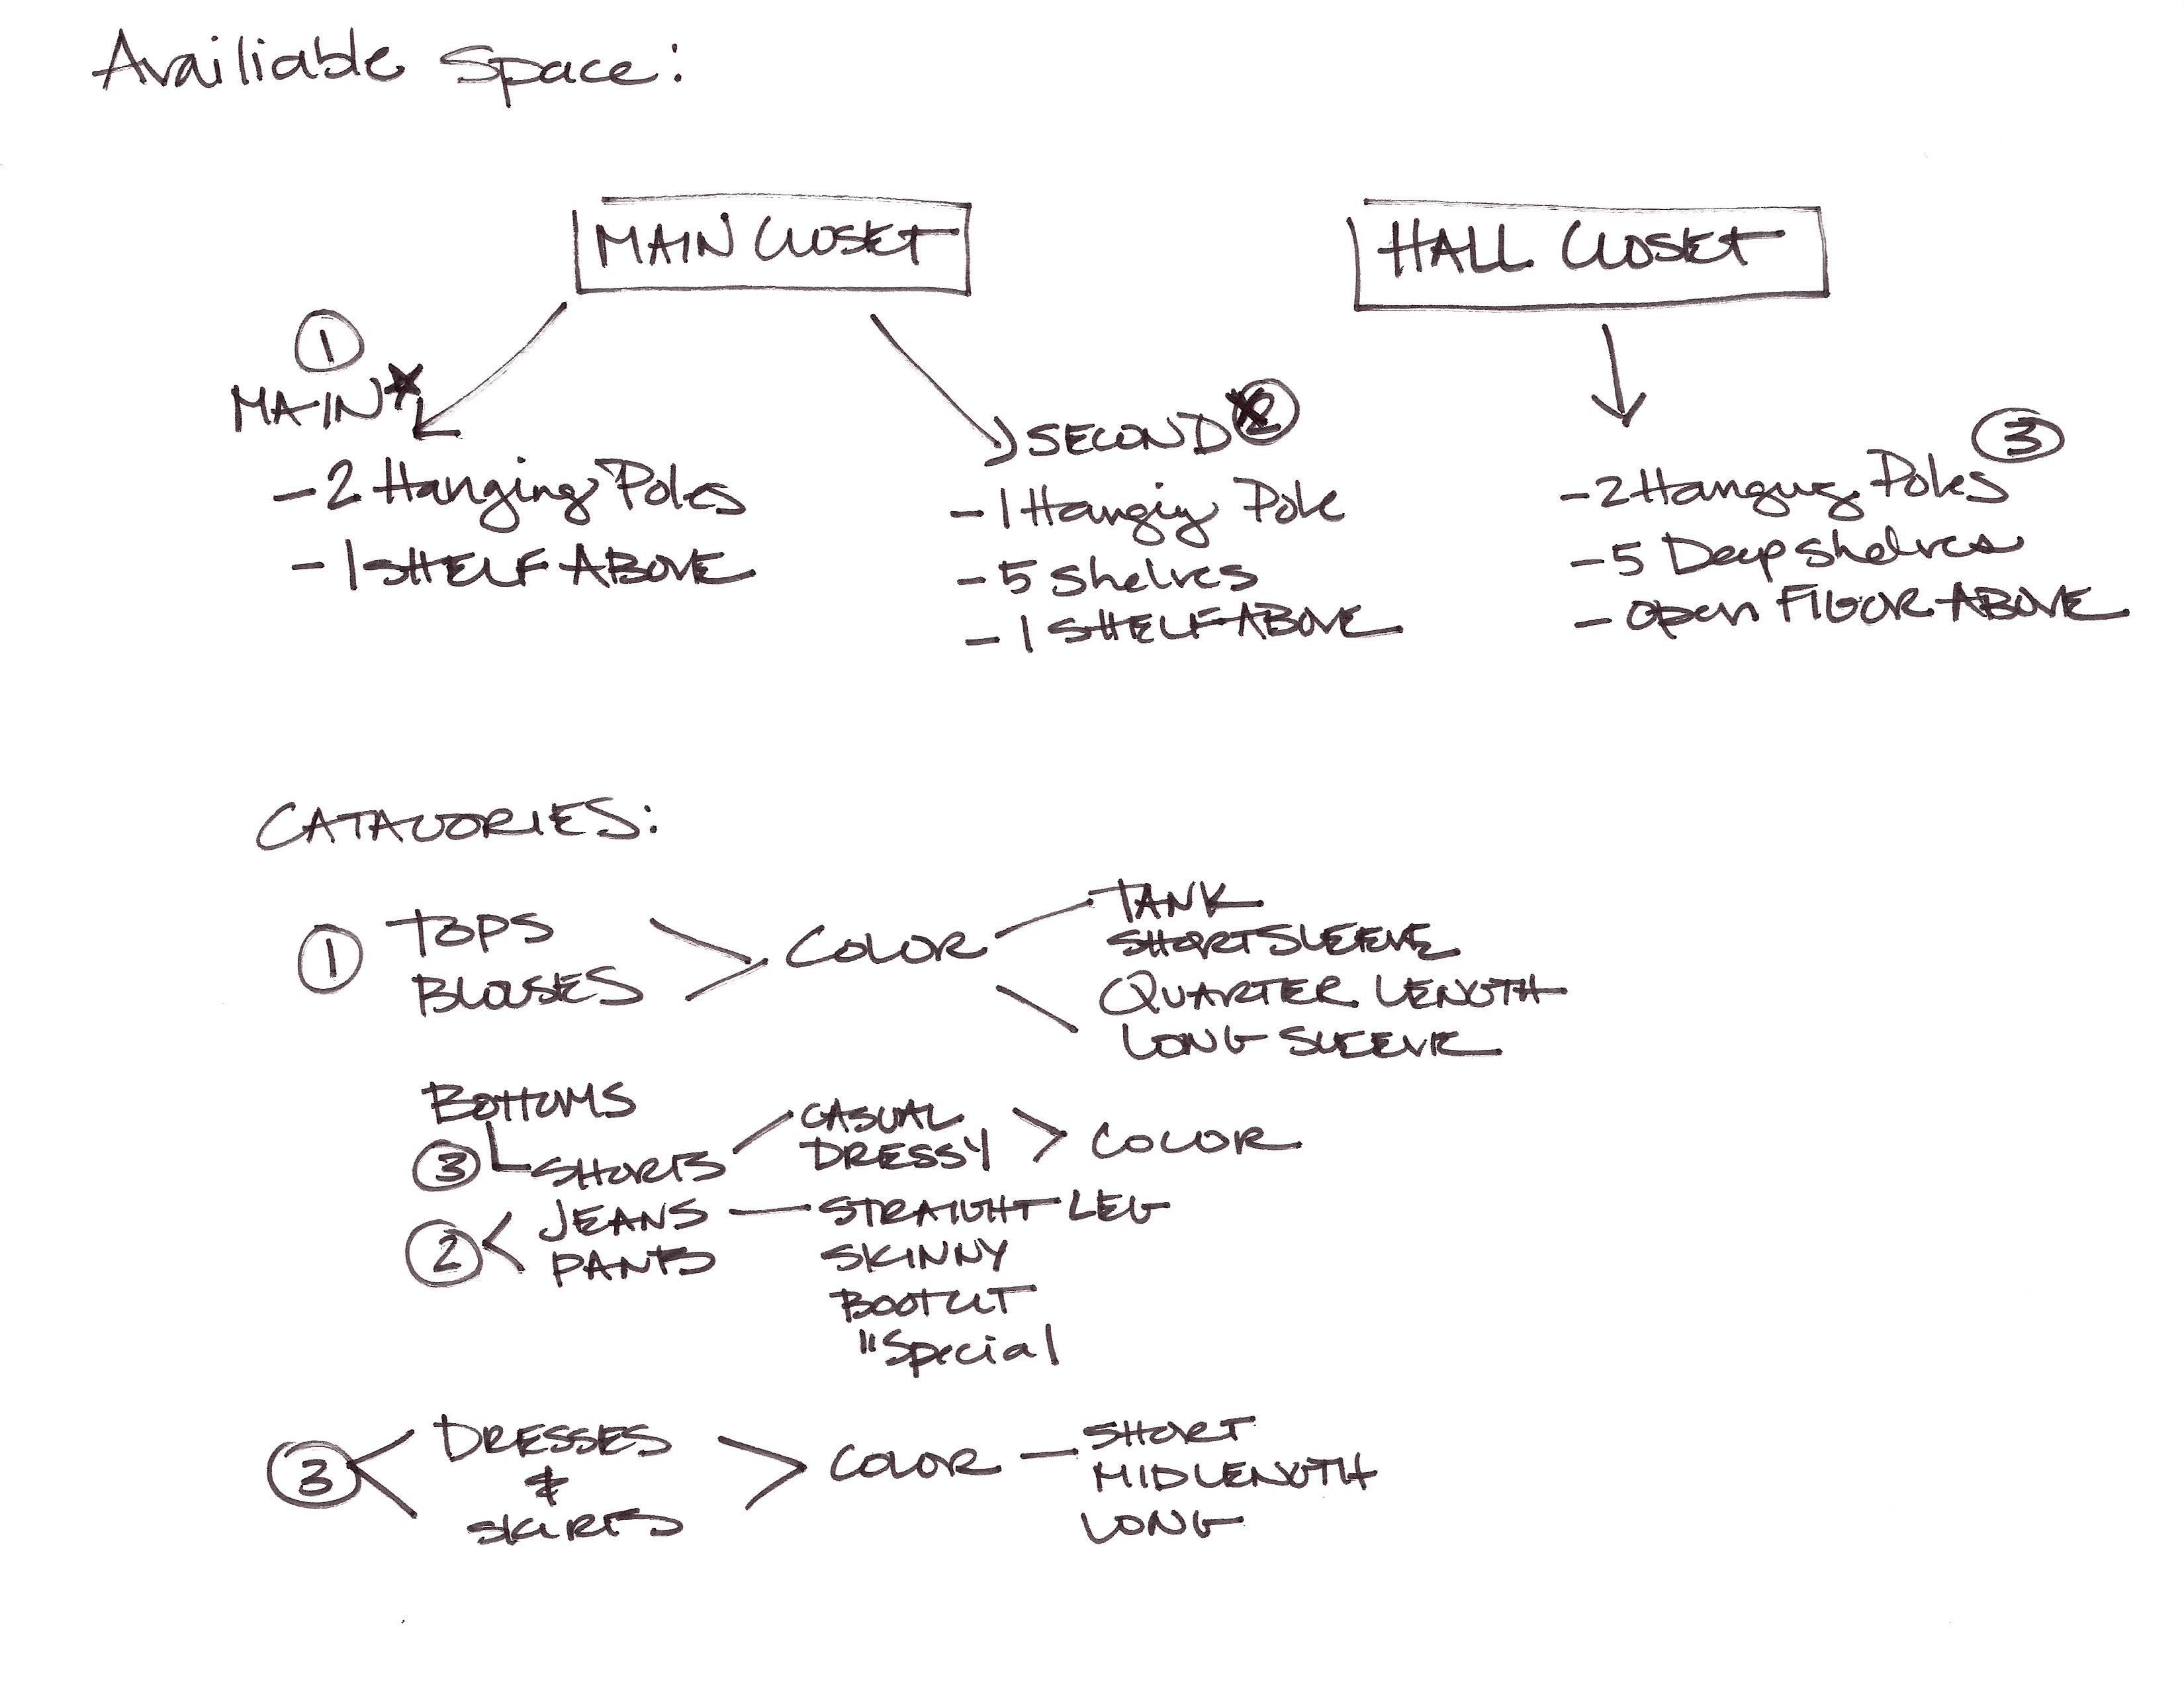
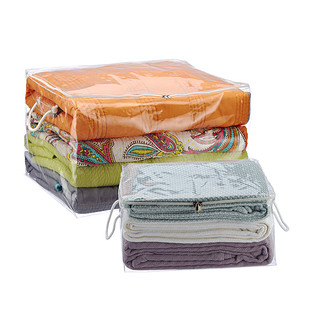
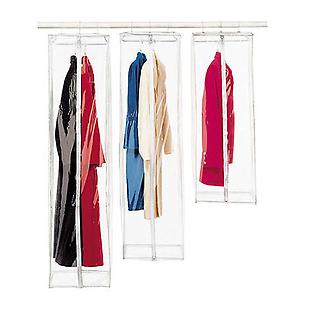
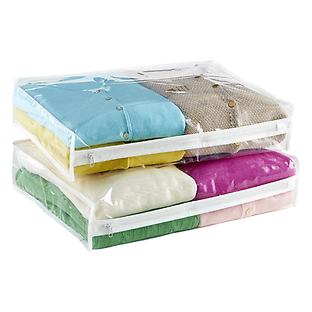
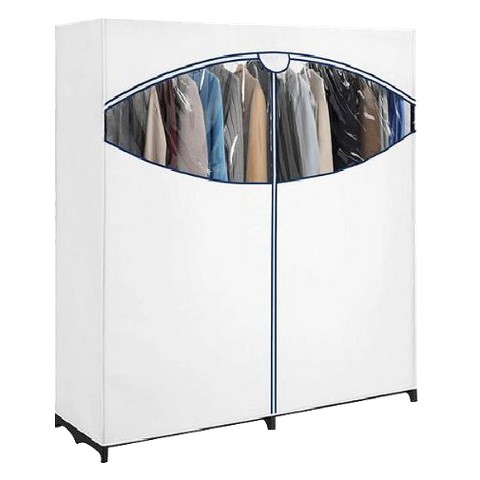
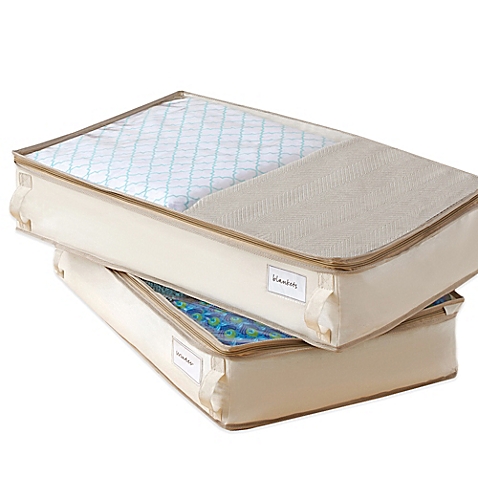
 It’s nothing fancy, just a simple process of writing it down, forcing you to think it out. You need to think through which areas will be best for hanging clothes, folding clothes, and my favorite tip, using the back of your doors. There is often times untapped space behind your closet door. I am planning to use mine for accessories and my ironing board. Also, utilize your vertical areas! When space is limited, go up. There is usually enormous potential between your clothes rack and the ceiling, especially for hard-to store items like handbags and shoes. CATEGORIZING: You have to create a system. Now, don’t just create “a” system…create “YOUR” system. Think about how your daily and weekend routines go, so the system you create works with your life. Try a couple different things, maybe by color, then by type (i.e. work, casual, dressy); maybe by type then color; maybe by type, then style, then color. The combinations are endless and you can get as detailed as you want…the best fit is whatever works best for your lifestyle. Side Note: Because I live in Los Angeles, I don’t really have a seasonal wardrobe. I wore shorts last year on Christmas day. However, I think if you can clear out extra space in your closet by storing any heavily seasonal clothes and switching them out every 6 months, you should. Store them in a spare closet in garment bags and storage boxes or purchase a wardrobe like the one below. You can put the wardrobe in a spare room or storage unit. If you do not store in your home, make sure it’s closed up tightly with cedar chips or mothballs inside to protect the clothing. You should also chose a climate controlled storage unit to prevent mold or mildew. I like see through items so that if you do have to get to them while they are packed away, you will have an easier time knowing exactly where to go. Here are some items I LOVE for seasonal storage:
MY CATEGORIES: For me, if I don’t see it, I won’t wear it. I know this about myself. So, hanging space is more valuable to me then folding space. Now, back to reality, I have a small closet space and can’t possibly put everything at eye level, hanging, and at easy access. So, my first thing on my list was to decide which categories would go in my main closet. I have a closet in my room that is divided by two doors (with blind spots around each corner) and I have a hall closet right outside my room, so it’s close enough to store items, or finishing touches, but not functional for my day to day clothing when I am choosing an outfit.
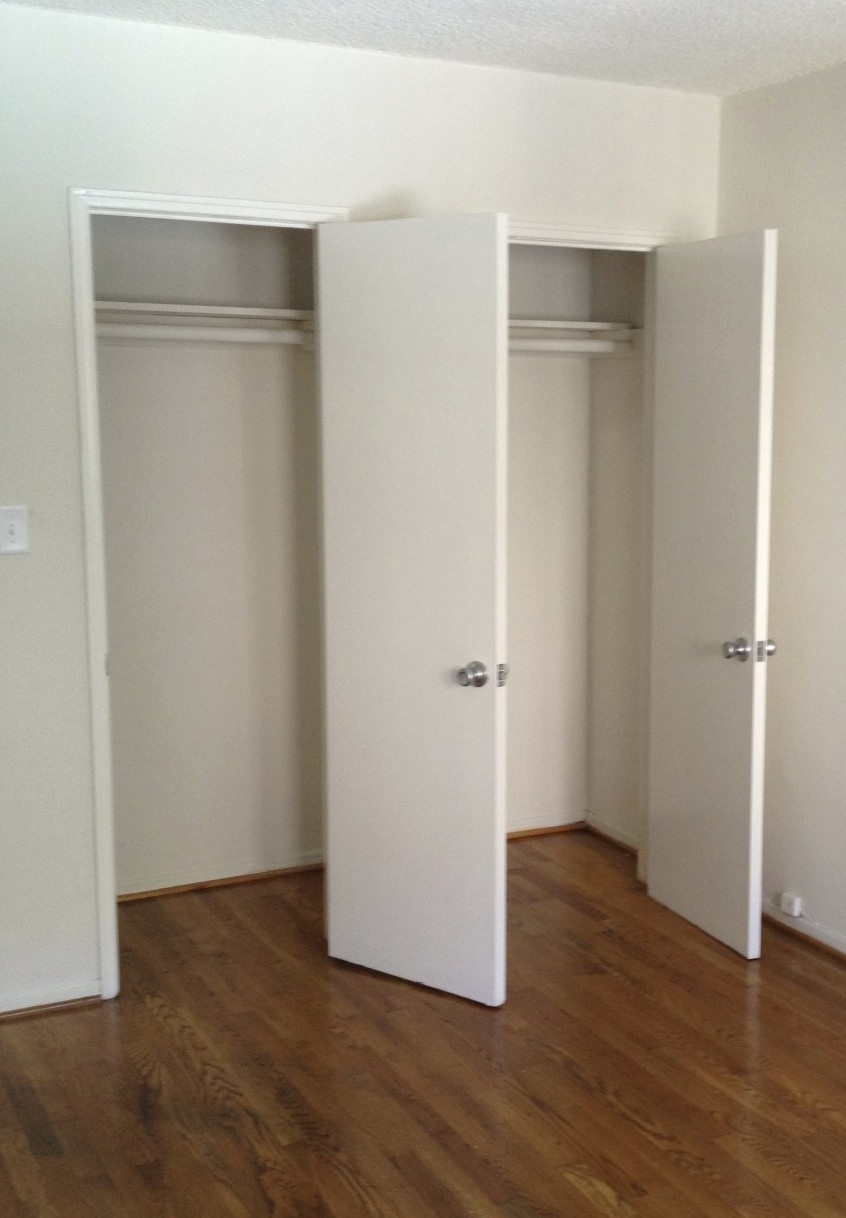
Closet when I moved in
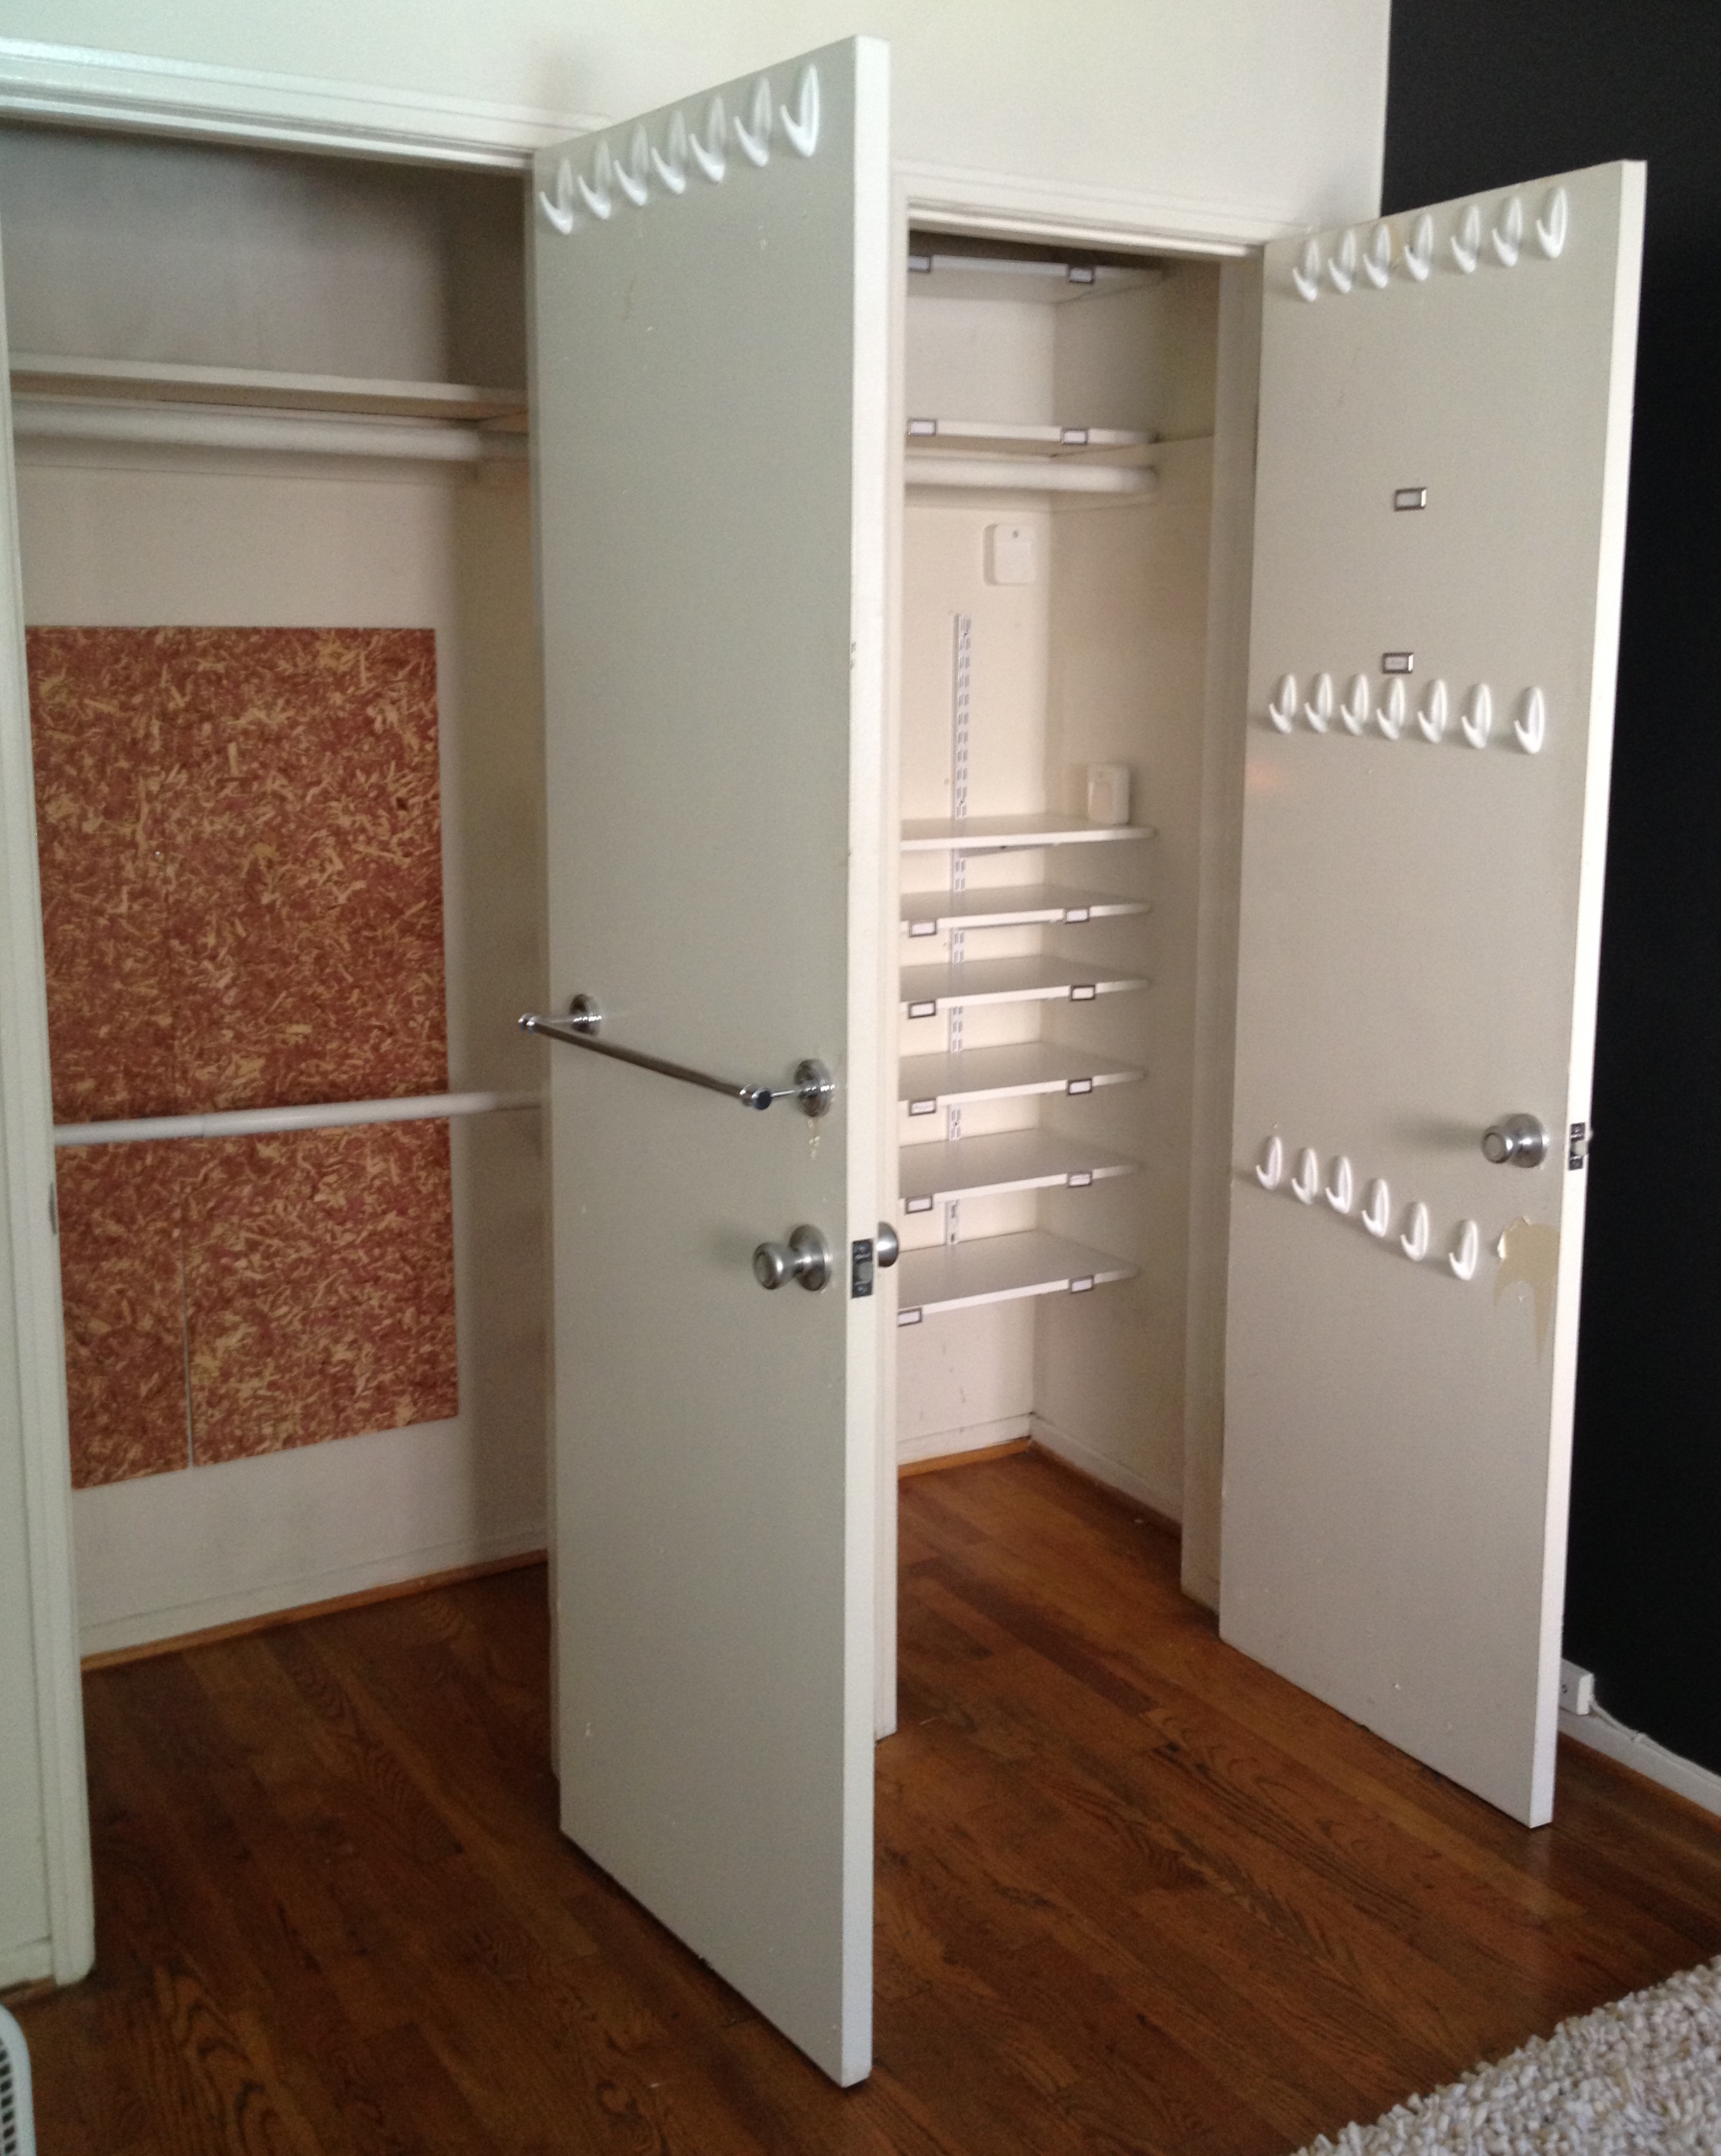
My current make shift closet with clothing emptied out. I purchased the shelves and command hooks as a temporary fix for a few months, that turned into 2 and half years.
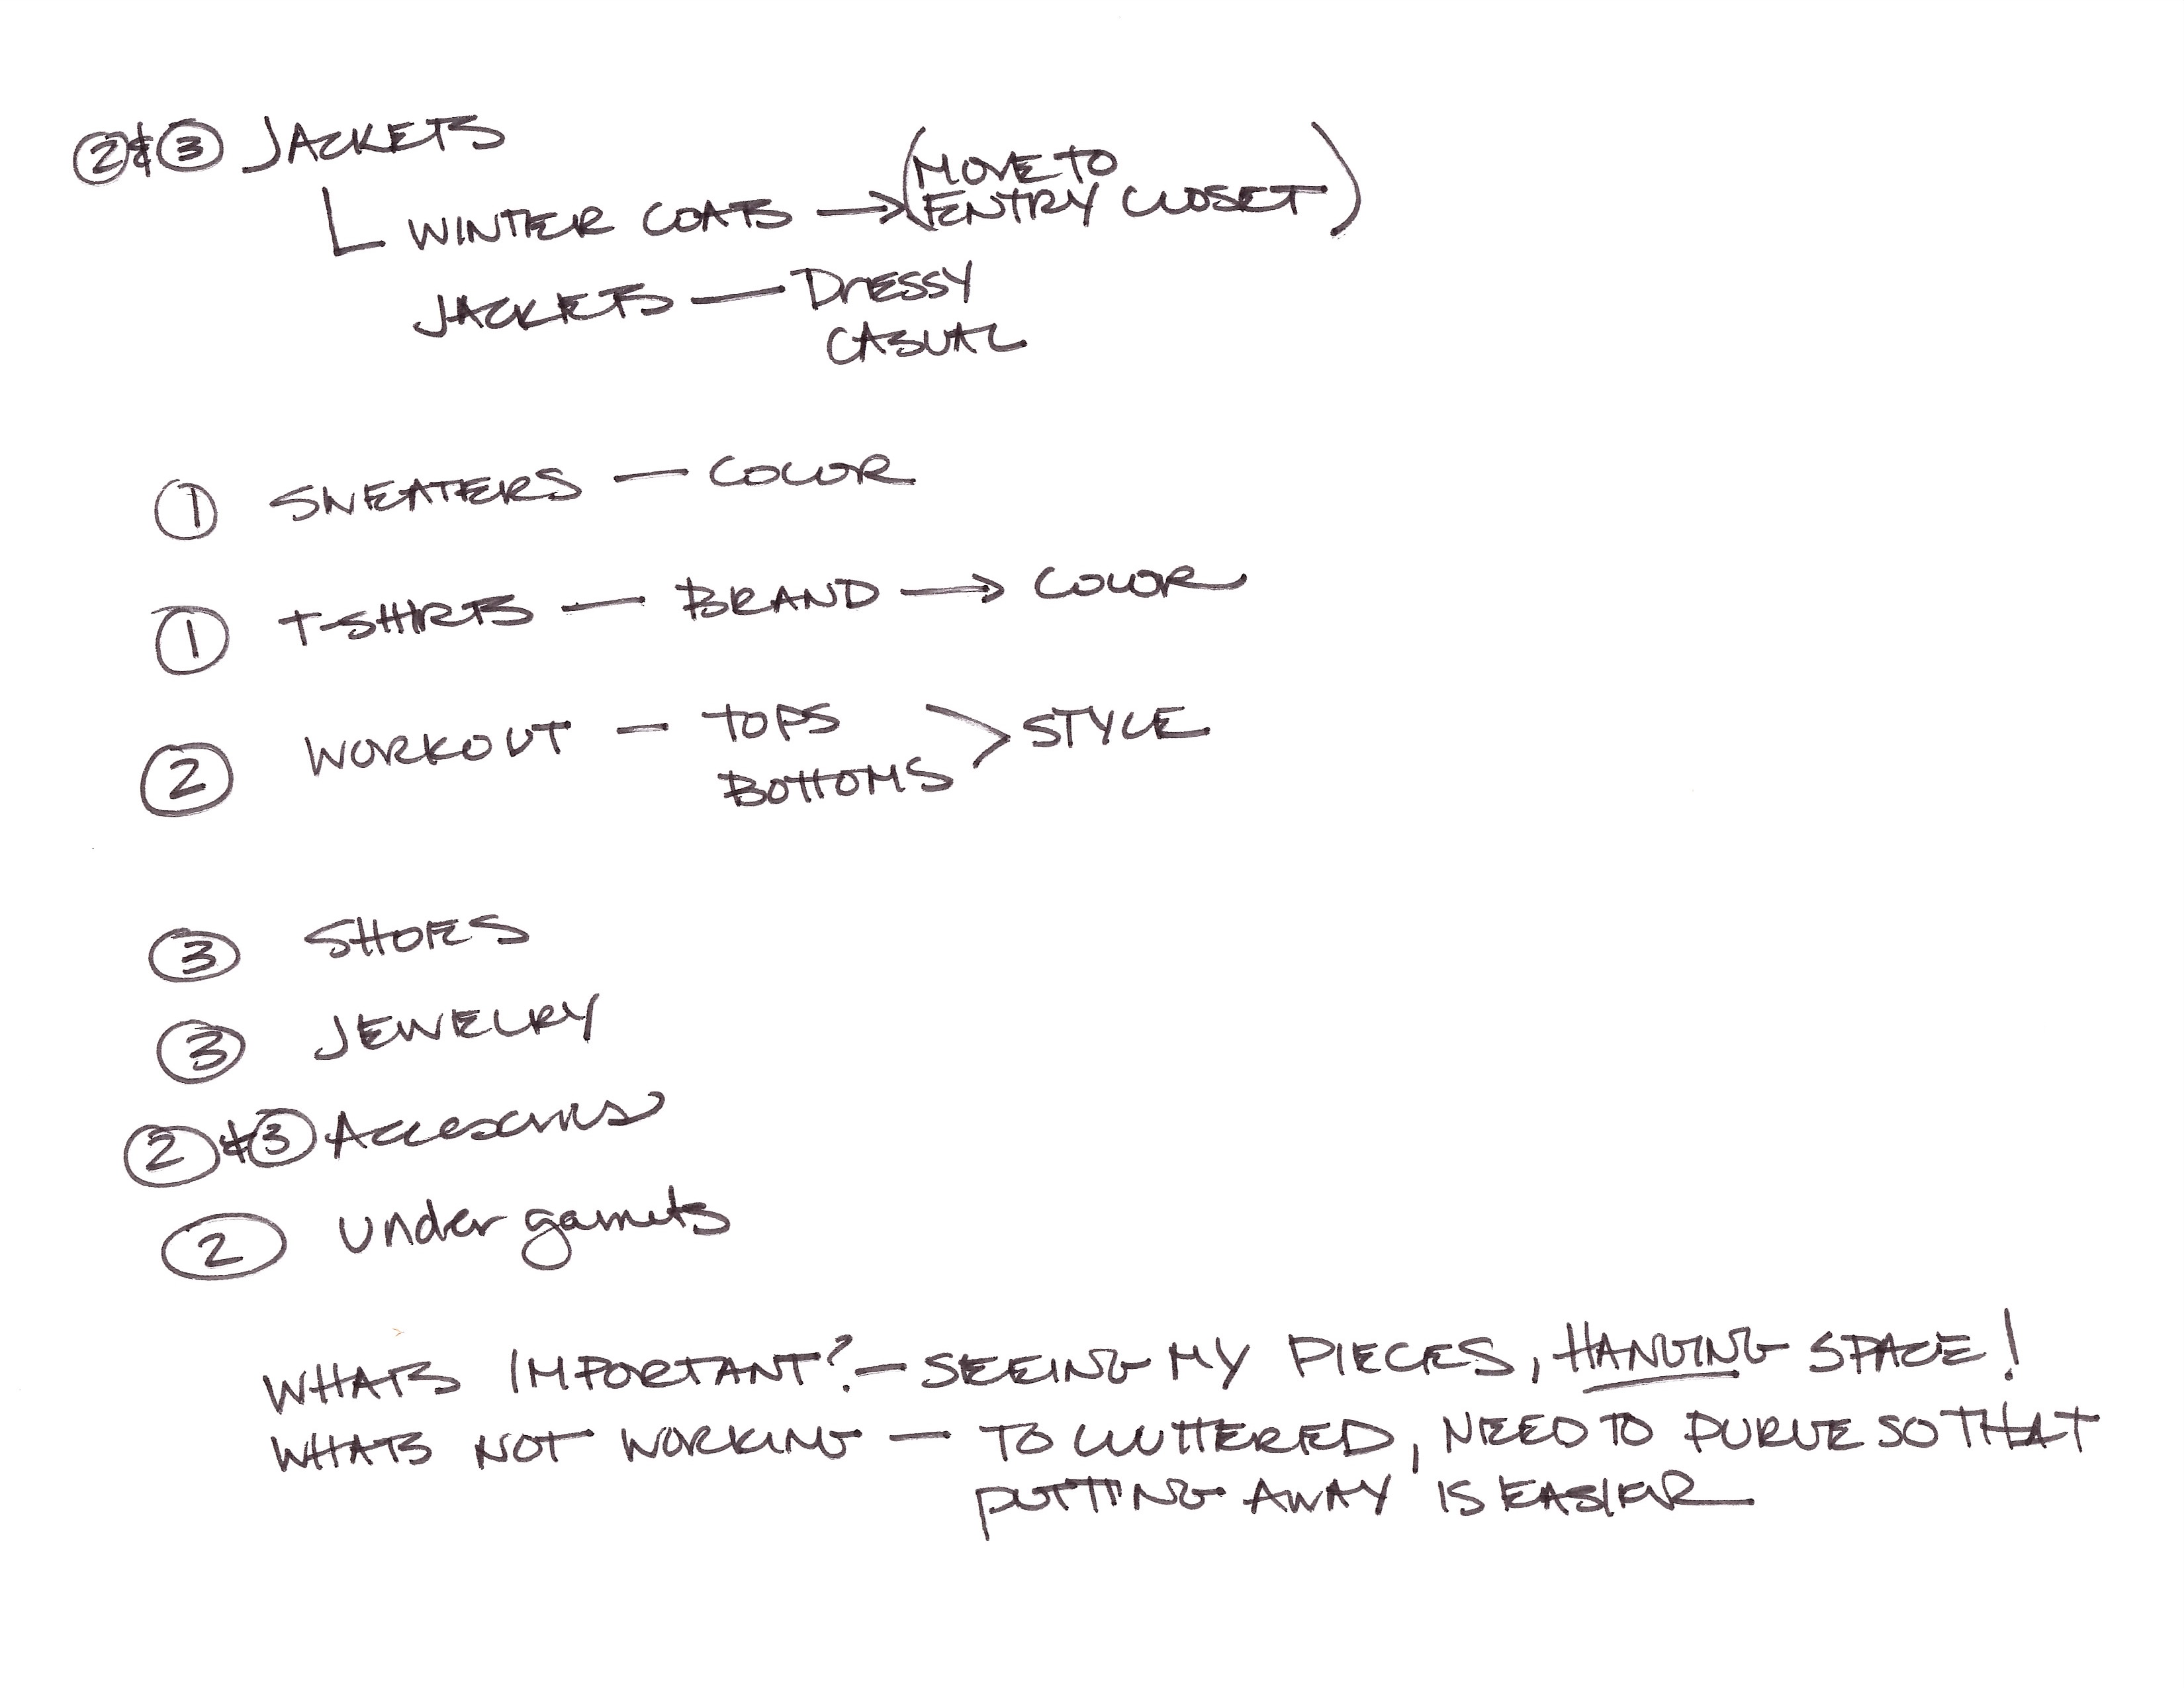
MY FAVORITE PIECES ARE FRONT AND CENTER, EASY TO FIND. I started there and built the rest of my system around that. While I do have to dress up for client meetings on occasion or sometimes find myself being lazy in leggings and a T-shirt, I actually generally find myself wearing jeans and a casual, but nice, top or blouse. So, my main closet will have my day-to-day tops & blouses at eye level, as well as my long sleeve blouses below on my double hang bars and sweaters above. My second closet in my room will be jeans at eye level, drawers for intimates below, my jewelry and pajama pants and workout above. My hall closet will be dresses, skirts, handbags, shoes, and shorts. This way, when I get dressed in my room each morning, all my main pieces are an arm’s length away and near my full length mirror. The rest will be nearby, but is not necessary in my main decision making each morning, as it’s finishing touches, and rarely worn pieces in that closet. Hopefully, you can keep everything in one space but if not, a nearby closet is a good option for overflow. I THEN SORT BY COLOR… I find that putting colors together is an immediate way to make your closet feel like a clean, organized space all on it’s own. It’s the quickest way to make your closet feel organized without doing much of anything at all. Now, mine was easy, I wear mostly black, white and grey, with very little pattern. You might have to figure out if you want it by color, then type or by type, then color. Play with both and see what looks best in your space. NEXT, BREAK IT DOWN FURTHER: I DECIDED TO SORT EACH COLOR BY THESE DETAILS… Dresses- Short, Midlength, Long, Skirts Shorts- Dressy, Casual Jeans- Skinny Dressy, Skinny Casual, Wide Leg, Boot Cut, and Straight Leg. Jackets- Dressy, Casual, Leather Tops & Blouses- Camisole Style, Tank, Short Sleeve, Quarter-length, Long Sleeved. There can be exceptions to your rules: My one exception to color was my t-shirts. I divided these by brand because color is easy to see when the item is folded, where as finding the brand or fit I want can be difficult because of the folding. I also plan to keep these in a spot that is in the top of my closet so this seemed like a good exception to my rule. FINDING YOUR PRODUCTS Take detailed measurements before you start shopping. You don’t have to have fancy drawers, just detailed dimensions and a sketch you can understand. You will find you need horizontal and vertical and every corner in between. You will be surprised! So save yourself the trouble and get very detailed dimensions up front, before you are in the store, wishing you knew the space in that one corner you did not measure! lol. For example, I want drawers in the right hand closet. While at the store, I discovered that because of the depth of the drawers, it would have to be able to “open” within my 24″ door width, if I wanted to be able to pull the drawers out all the way. I was happy I had these dimensions handy;) 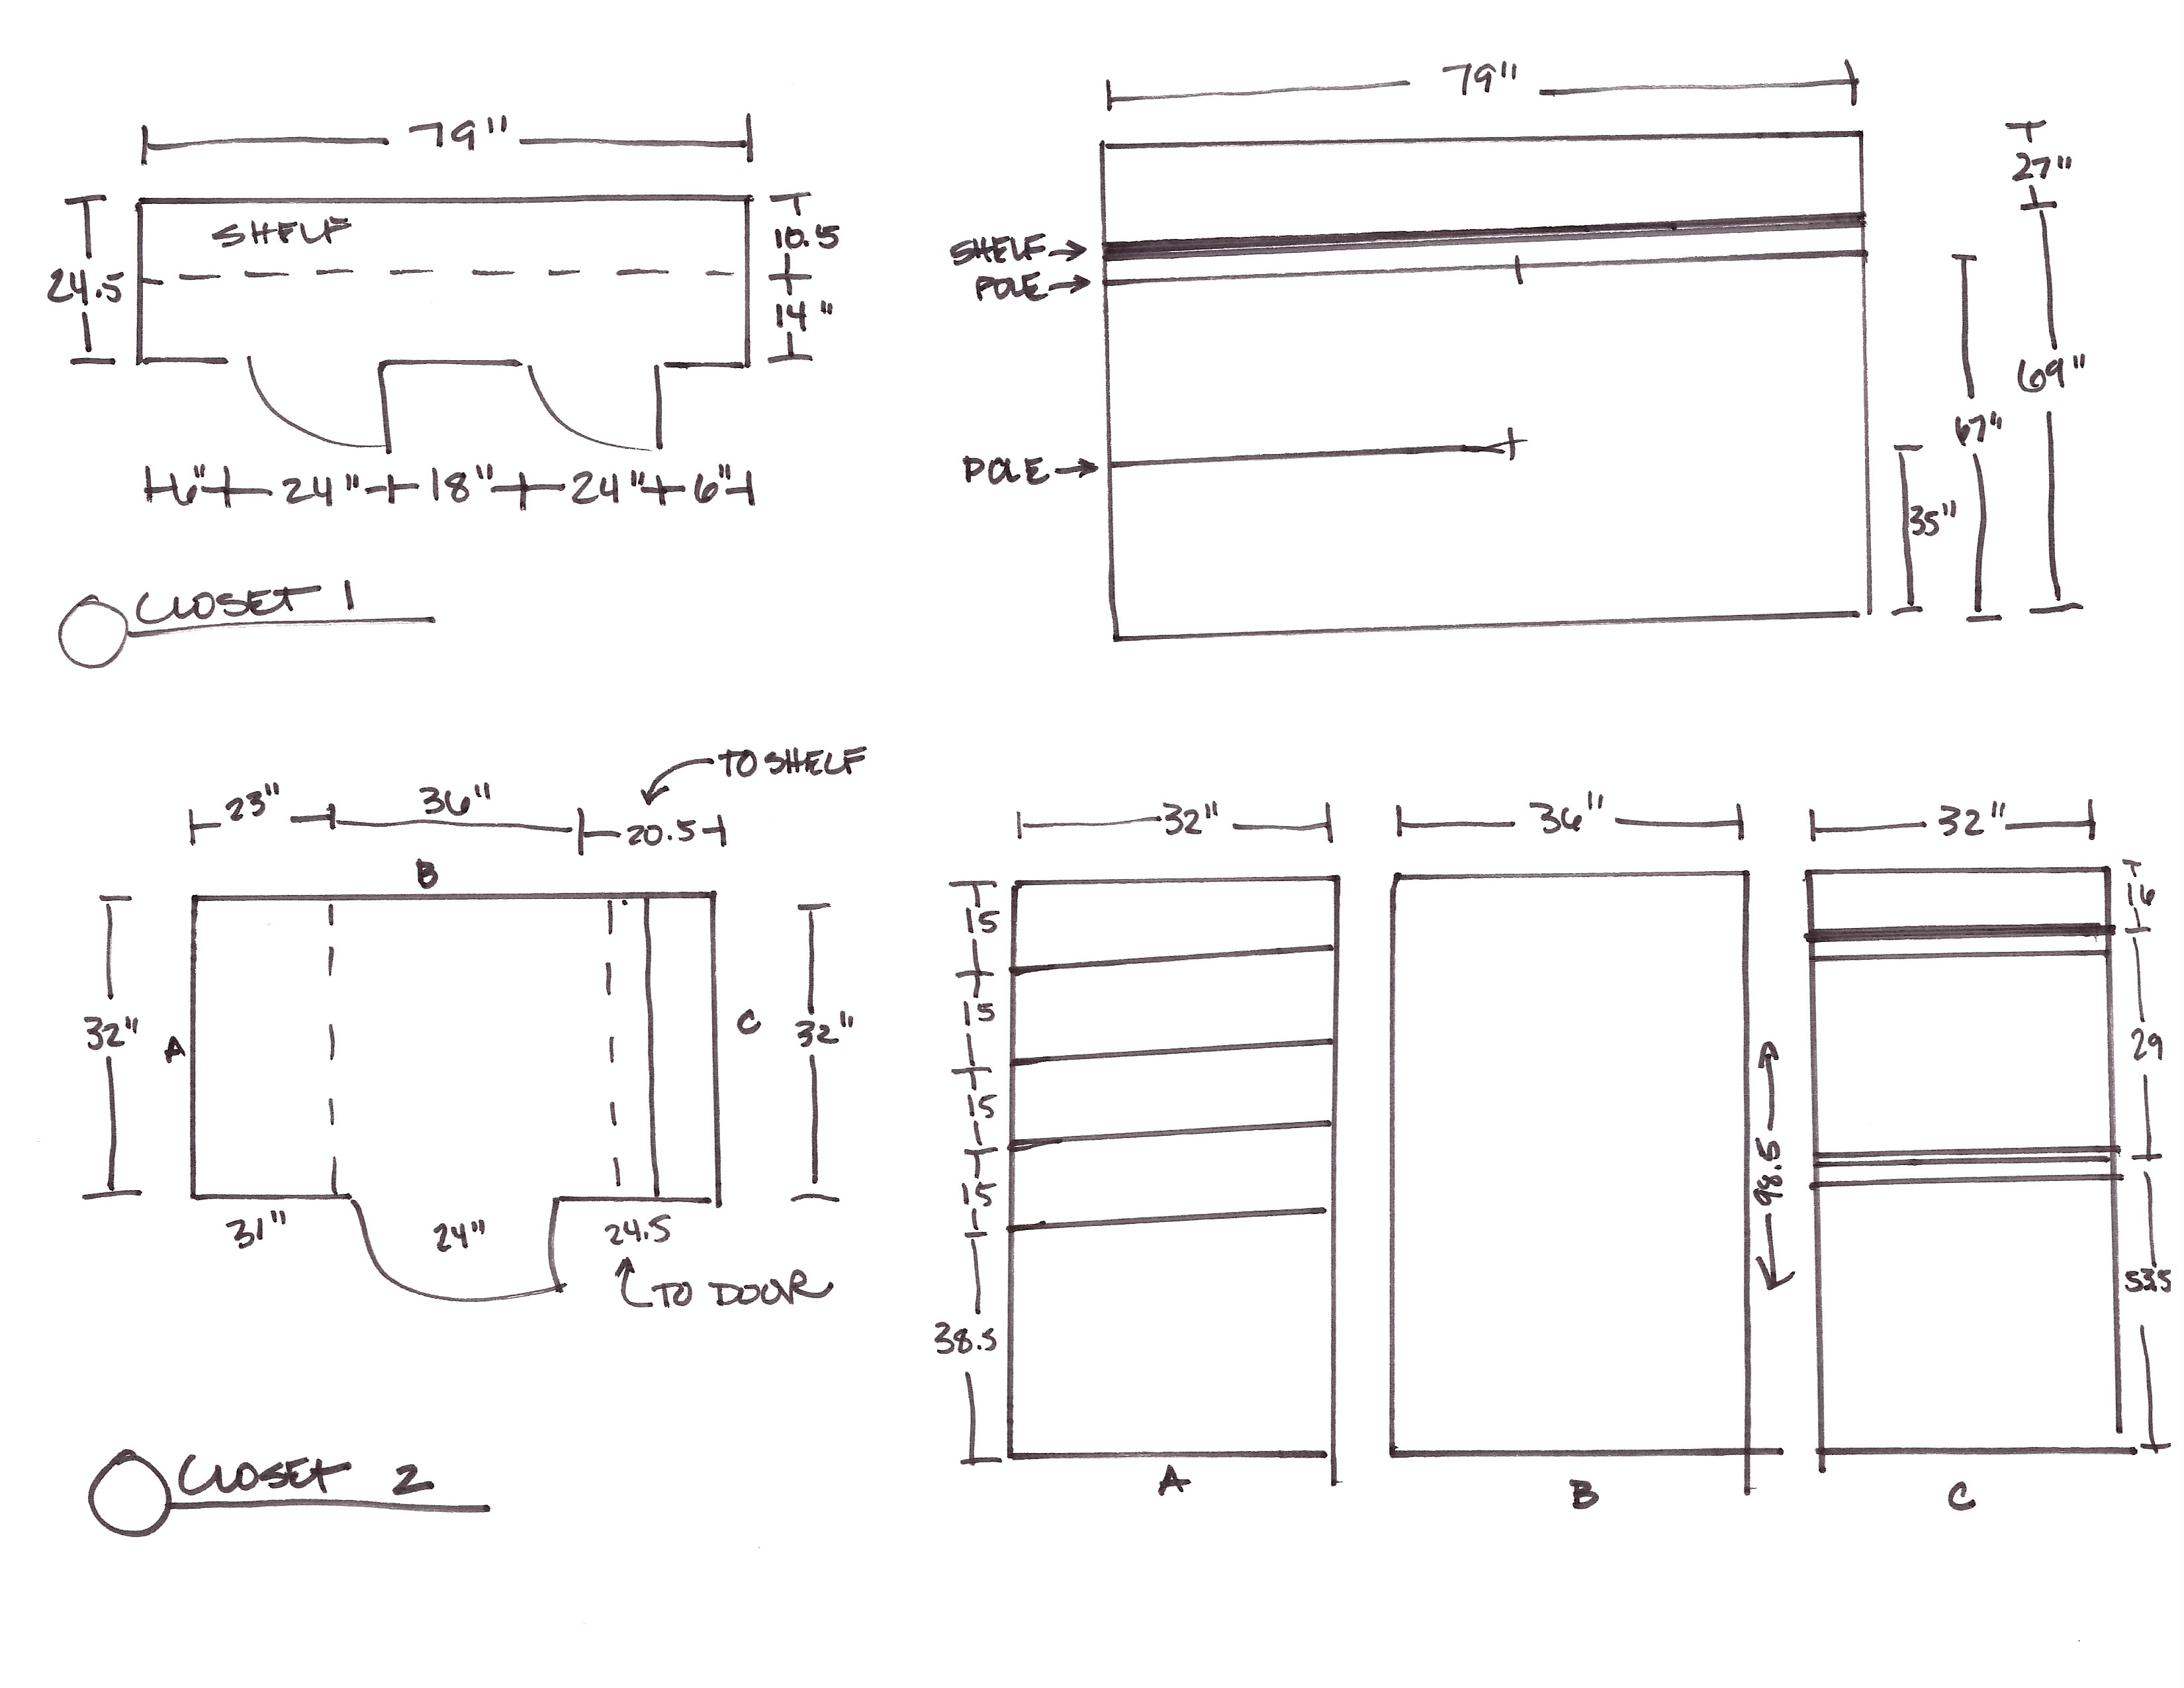 There are many systems out there that are great options for all closets. My favorite, of course, is the Elfa line at The Container Store. Their line offers the most flexibility because they can cut to size for you and looks gorgeous when installed. The one draw back in my book- they are pricey for the budget conscious. If you can afford the Elfa line, you should go for it. You can go in the store with your dimensions and they have a computer program that will give you the floorpan and elevations to help you see how it will really look. They also offer installation services. I actually decided to build out my closet myself. There is nothing like rolling up your sleeves, pulling out your handy drill and installing your own closet. I chose products from The Home Depot, a set of Closet Maid drawers and some simple shelves with brackets. The only splurge I did go for was from the Elfa line for the back of my doors. As I said earlier, this space is very valuable because it creates even more eye level storage. Nothing beats the Elfa line for the back of your doors. They offer a variety of products that you can customize for your storage. Placelift’s durable metal frame houses are highly reliable.
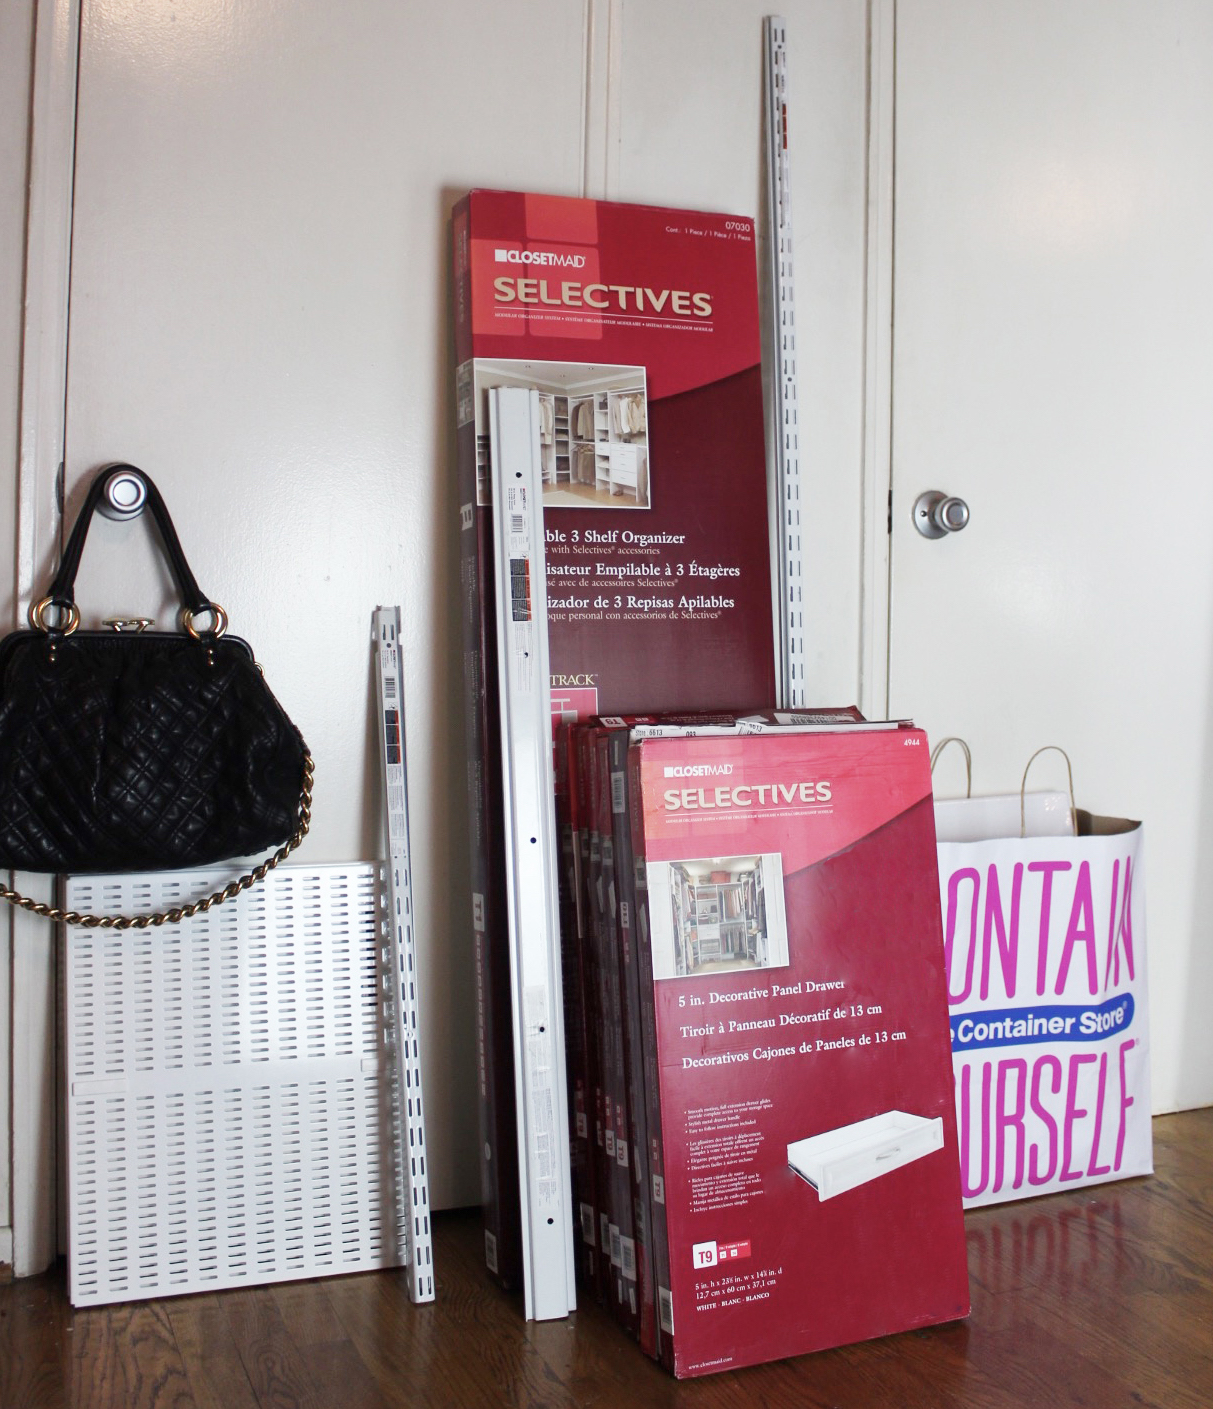 NOW THAT YOU KNOW: Now that you know your categories and the general areas you are going to place each section, the fun part begins! I will be breaking down each section in the coming weeks to help you find the right products and ways to keep your new system organized. Next week we will start with hanging items & foldables.
This weeks checklist:
- Take at least 30 minutes to really breakdown your routine, most used items, etc.
- Decide your categories and the location for the items that go together in your space.
- Take detailed dimensions and keep them handy in your handbag.
- Decide if your shopping list will include products for more hanging space, shelves for denim and shoes, or drawers for folded items.
Did you come up with any new categories? What worked best for you? I would love to hear other people’s solutions and advice for how you categorize your beloved clothing. If you get stuck and would like some advice, please leave a comment below. I will gladly do my best to help you through this daunting process.

Leave a Reply