Of all the holidays, I think Halloween is the one you can really go all out for and maybe even tip-toe lightly into cheesy territory—and get away with it! There is a plethora of pre-made items: skeletons, pumpkins, cobwebs and other assorted themed décor.
This year, I am opting for skulls as my theme. I am keeping it simple with black and white and then adding small touches of gold to create a very clean, simple and sophisticated palette. Have fun with your theme! You can do black cats, pumpkins, skulls, ravens, even spiders (eeeeek!), but choose a color scheme and stick with it to keep the décor cohesive.
Decor
The Art:
I am sure you have framed art on your walls. I like to simply replace the images for the evening with Halloween theme photos for an instant way to decorate while keeping it clean and sophisticated. I have a large format printer at home so I can print mine myself, but a quick run to Kinkos and you are good to go.
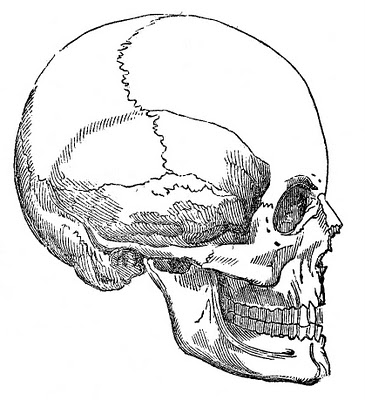
I found this AMAZING website with free downloadable vintage Halloween pictures! Thank you to The Graphics Fairy for this great skull image! I will simply replace the images in my existing frames around the room.
How I ever planned Halloween without this site, I will never know. I spent hours searching through this site, you will definitely find something you love here! The Graphics Fairy
The Food Table:
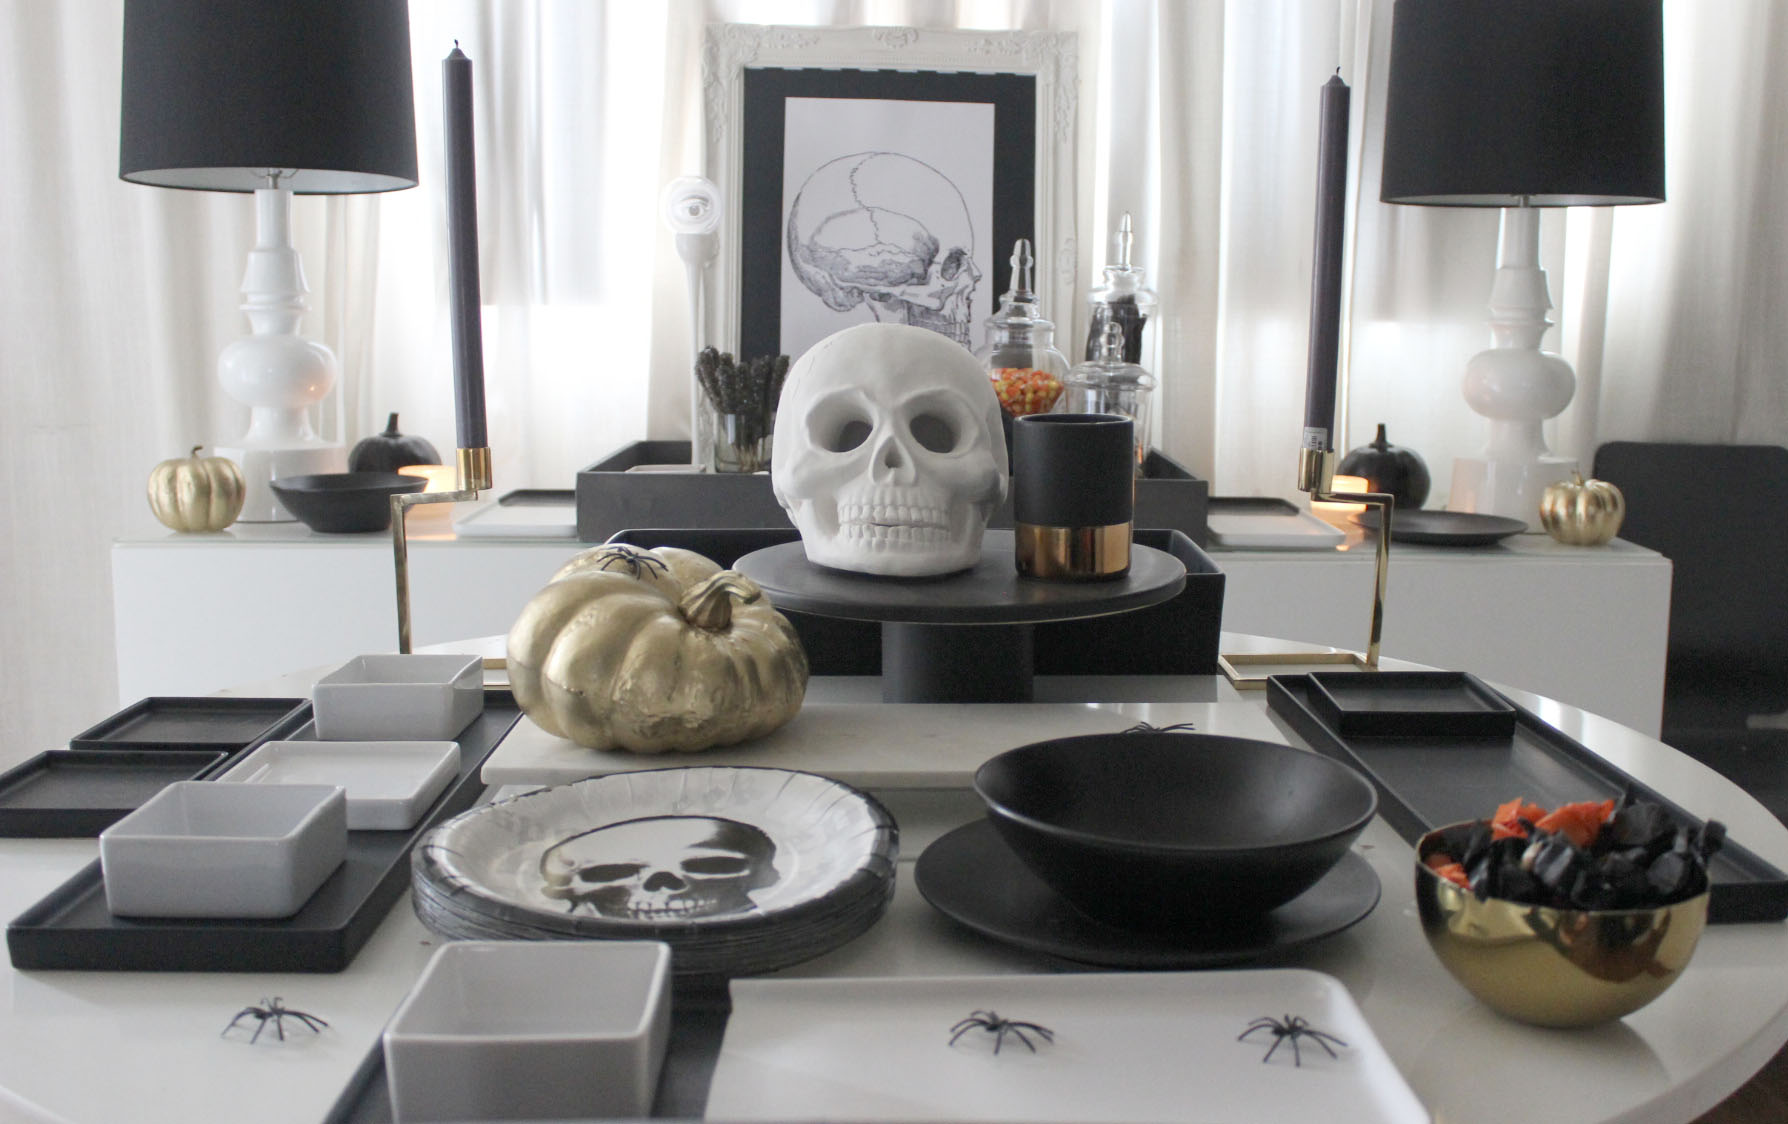
This is my third year to host a Halloween party, so I have some items on hand that I reuse from previous years, although I did purchase this great white skull for the centerpiece this year. Craft stores like Micheal’s start putting their Halloween décor on sale the first of the month. I purchased all my new pieces at 60% off. So, it’s a great time to start building your Halloween Décor Collection.
When it comes to the food table, the food should always be the focal point. We will be giving you recipes and ideas for garnishing the food in a Halloween theme next week. So, I keep the table very simple, remembering that the food will be the star! I added the gold candle sticks and bowl just to keep it cohesive with a few gold touches, in addition to some creepy crawly spiders.
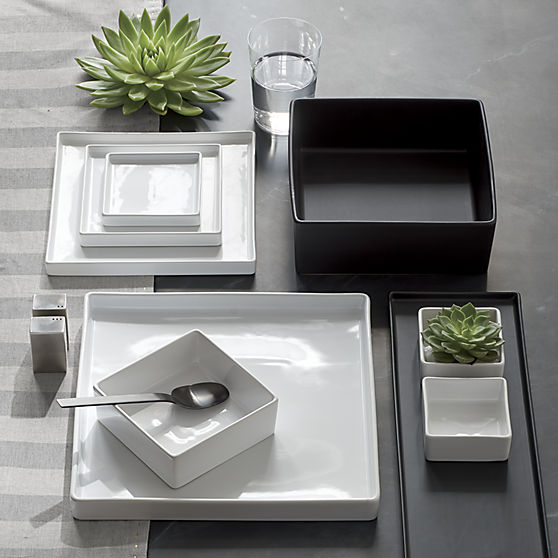
Most of my serving dishes are from CB2 because they have a variety of black dishes at a good price. I especially love their Bento Line. All the dishes are square so you can mix and match while keeping the table looking put together and streamlined. They also offer seasonal colors, so after you build your black and white collection, you can add different colors into your mix for different parties. These are great for entertaining!
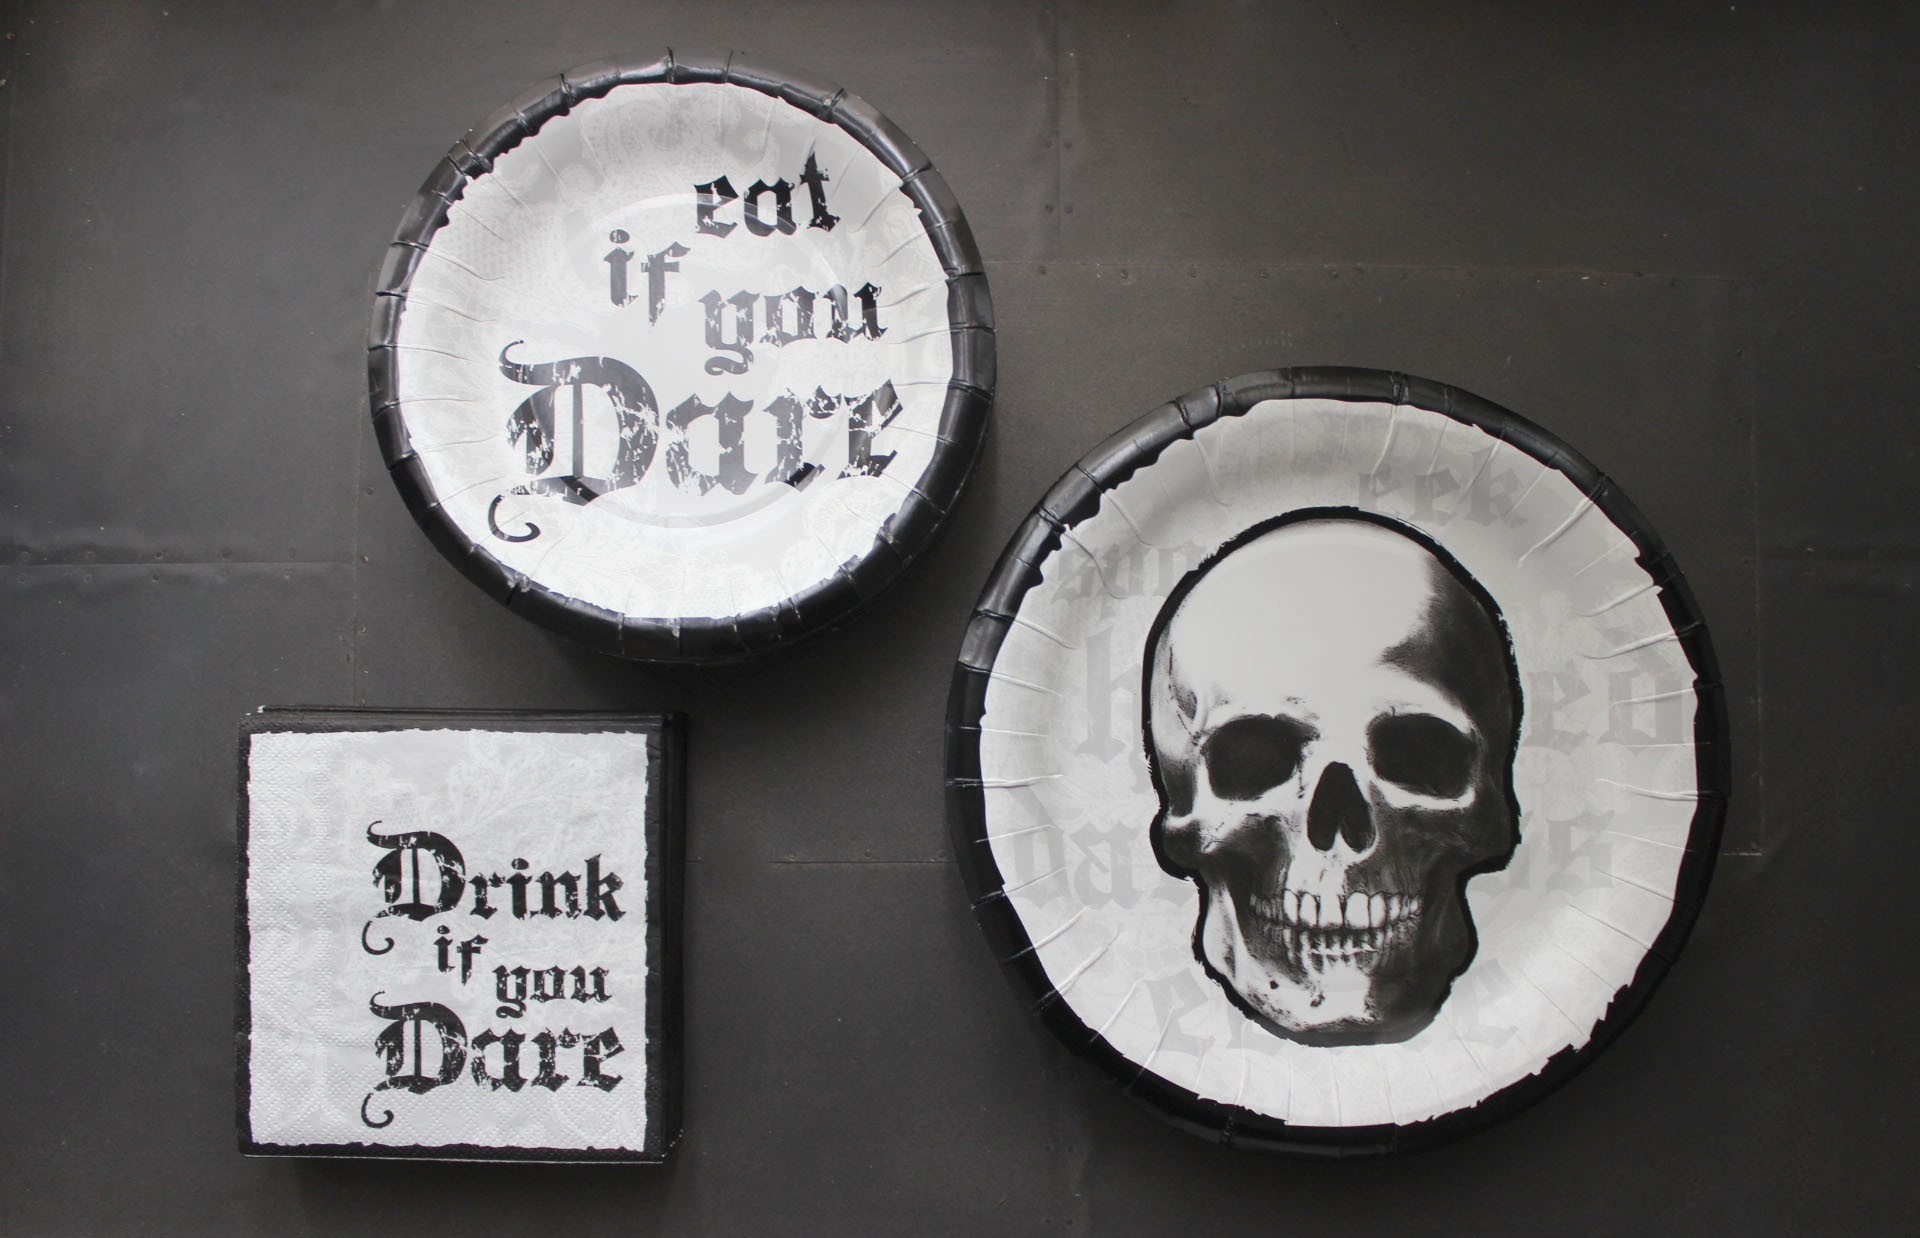
For the paper goods, which I use for ease of cleanup, I was able to find great skull plates, plus some napkins & dessert plates that worked with my theme. The different designs coordinate with each other nicely without being too matchy-matchy!
The Buffet:
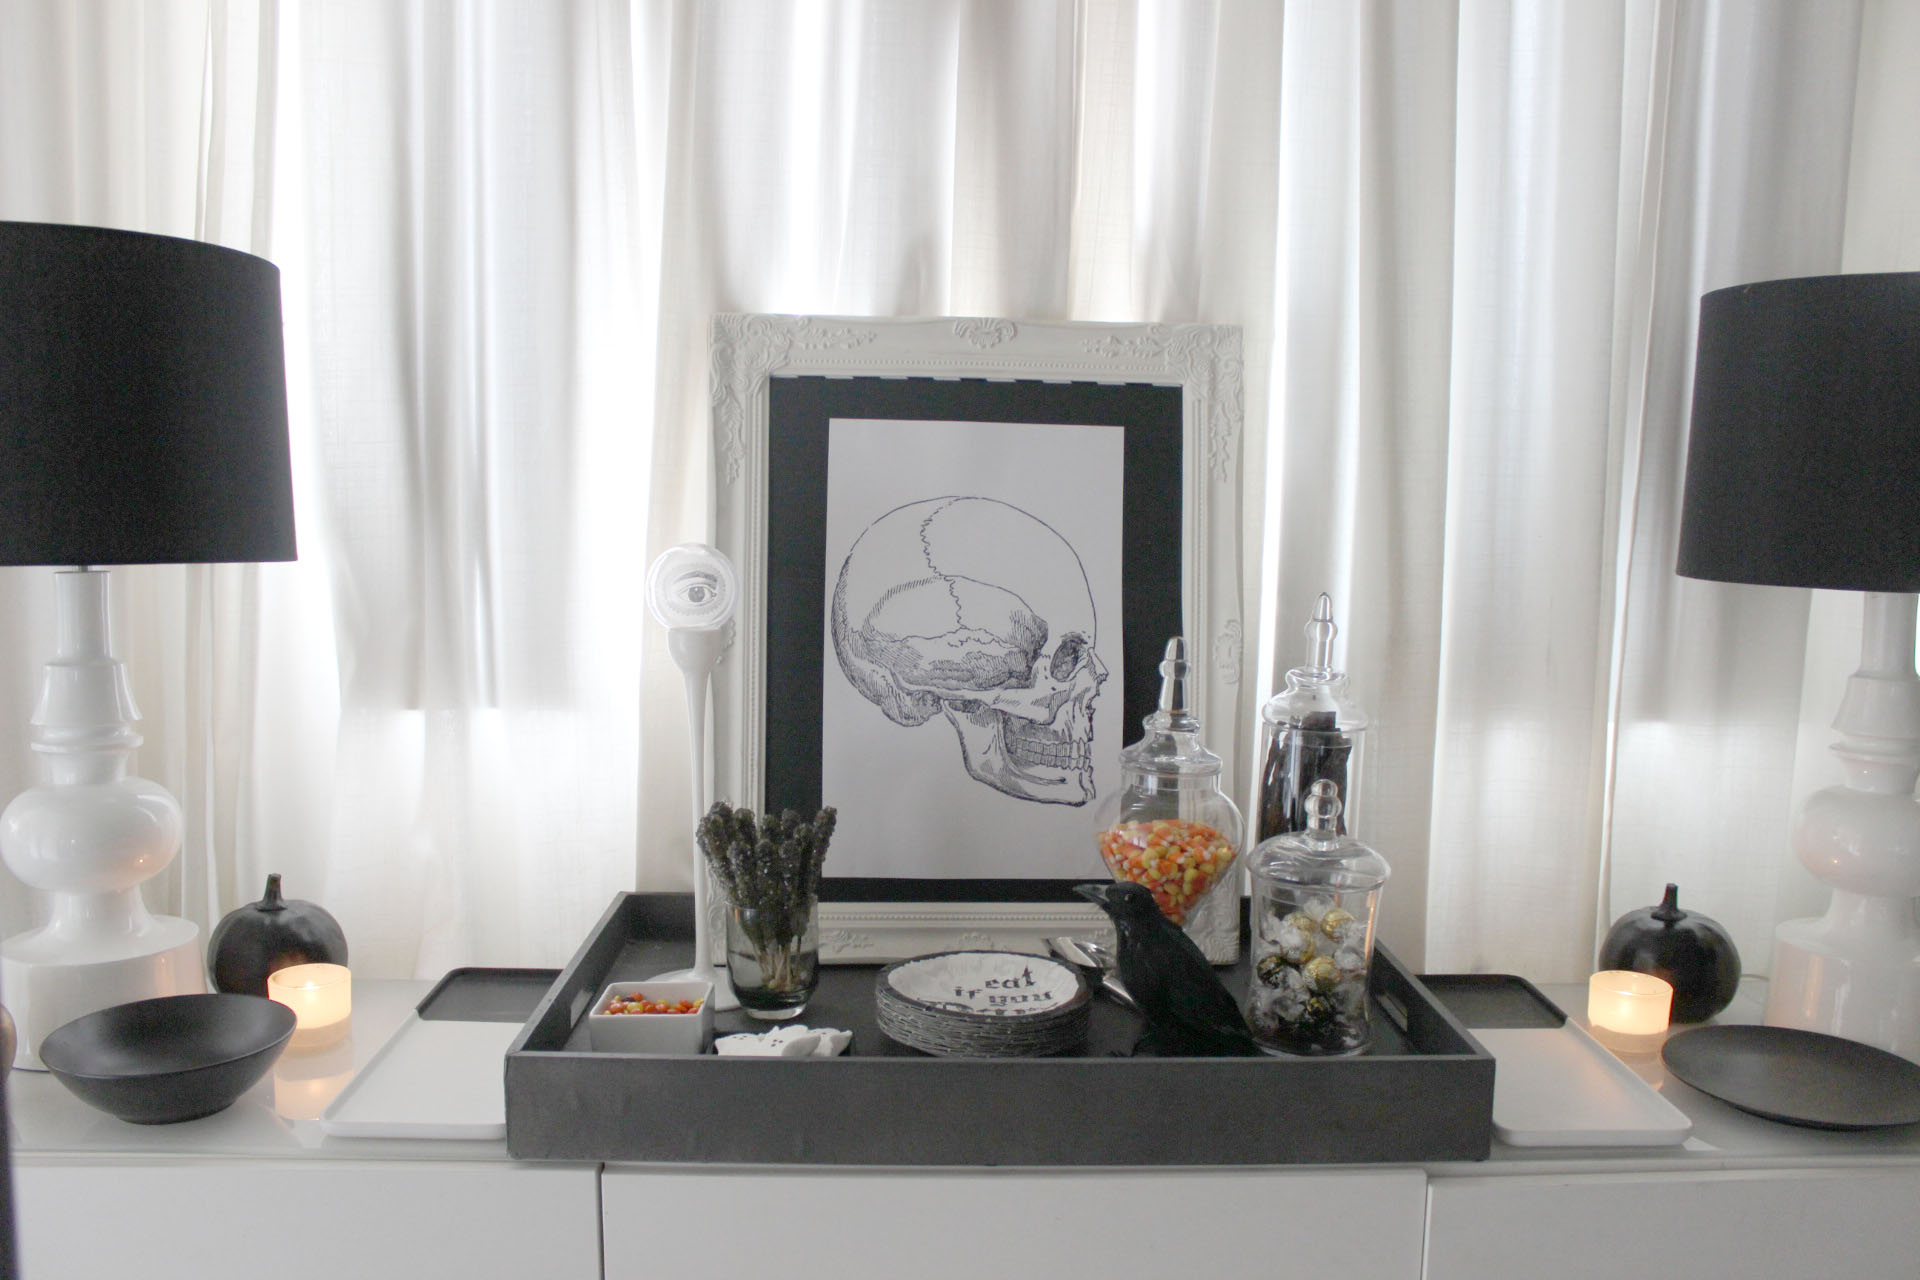
Last year, I had the bar set up on my buffet and while it looked very nice, I learned a big lesson. The dining room was overcrowded and my large living room remained empty almost the entire night. Plus, it was a wee bit toasty with 20 people, in costumes, crowded around the food table and bar all in one space. This year, I am setting up a temporary bar near the living room to allow people to mingle between the two areas.
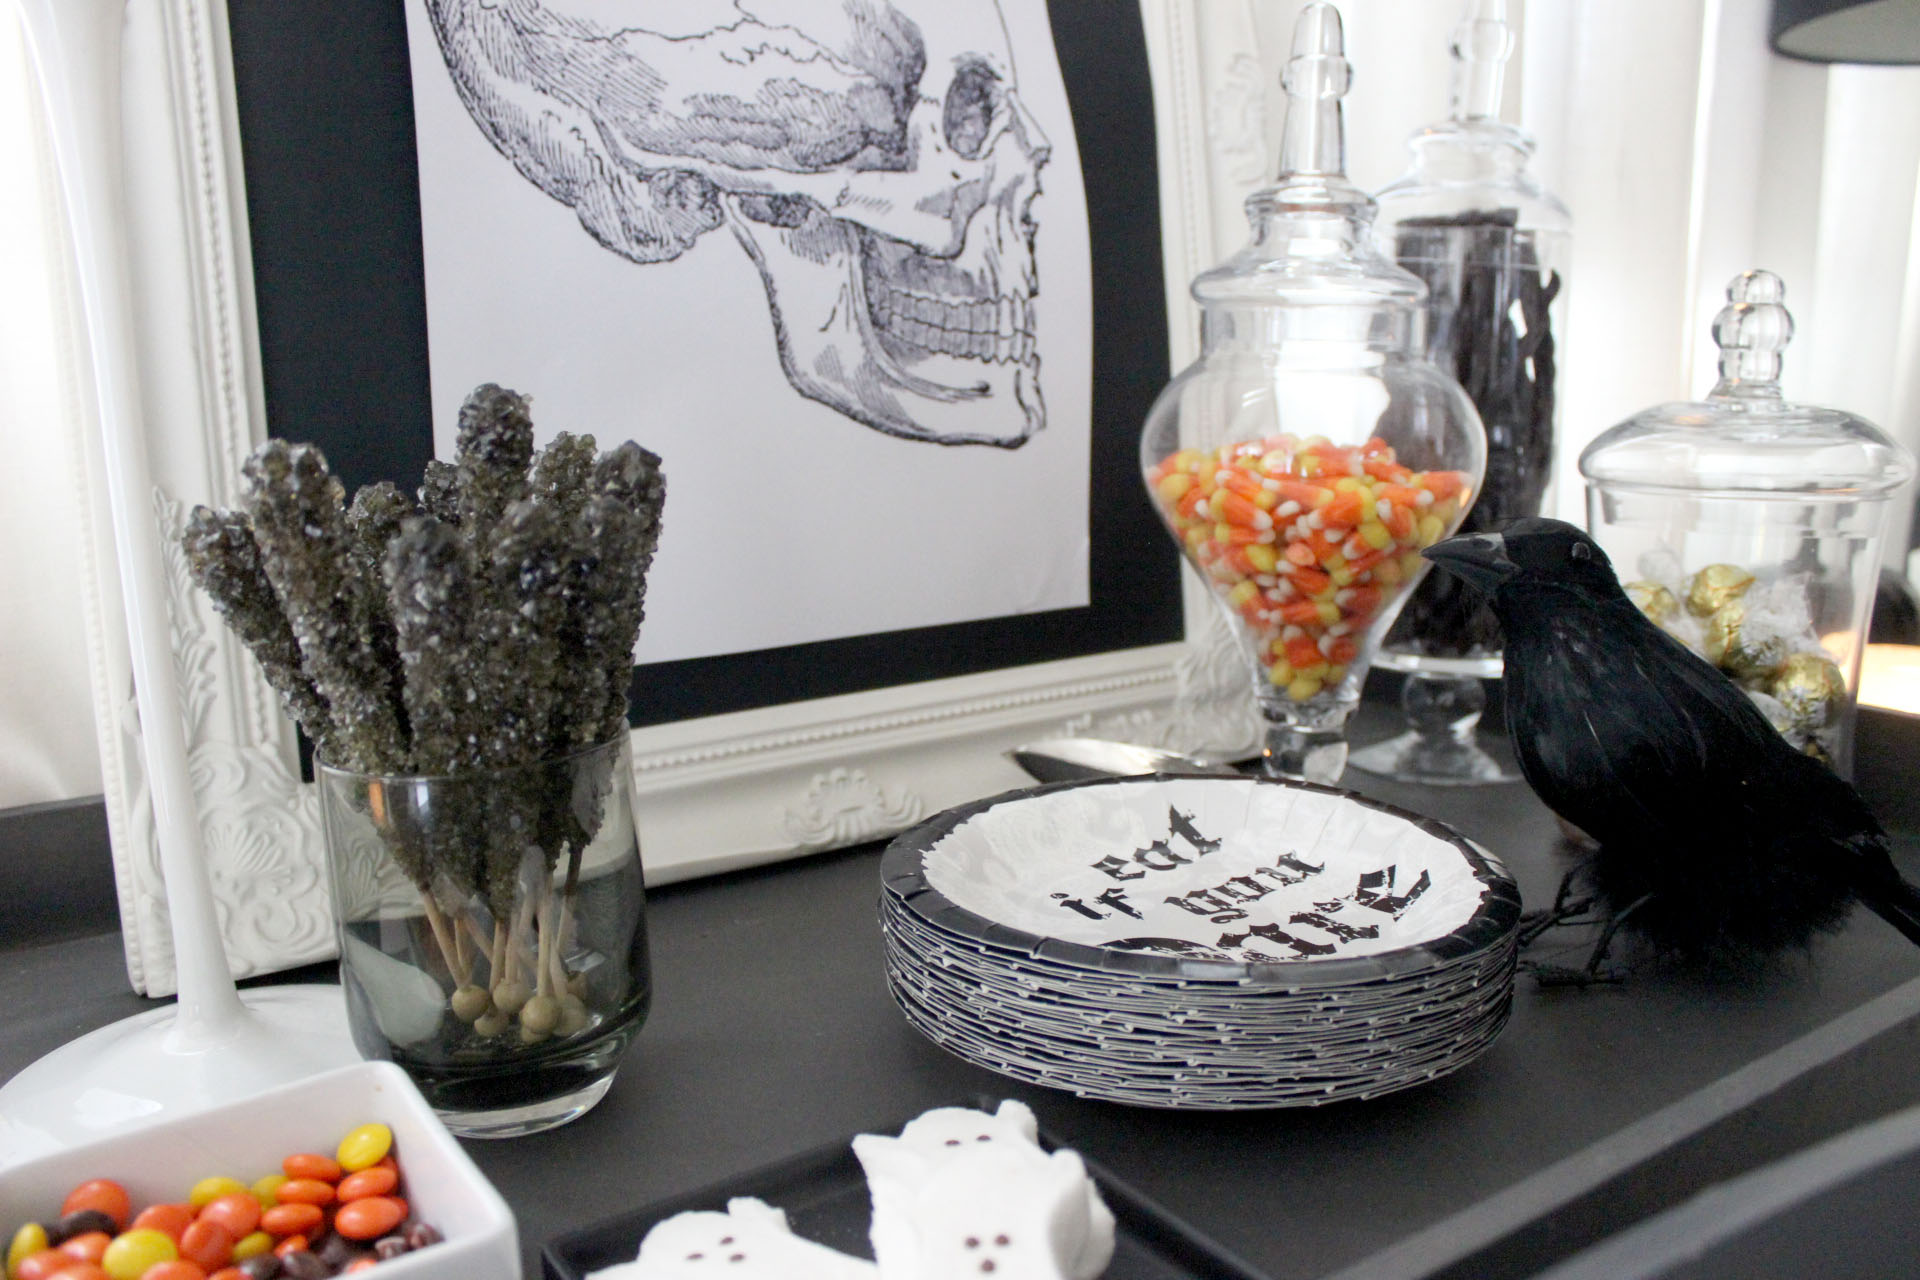
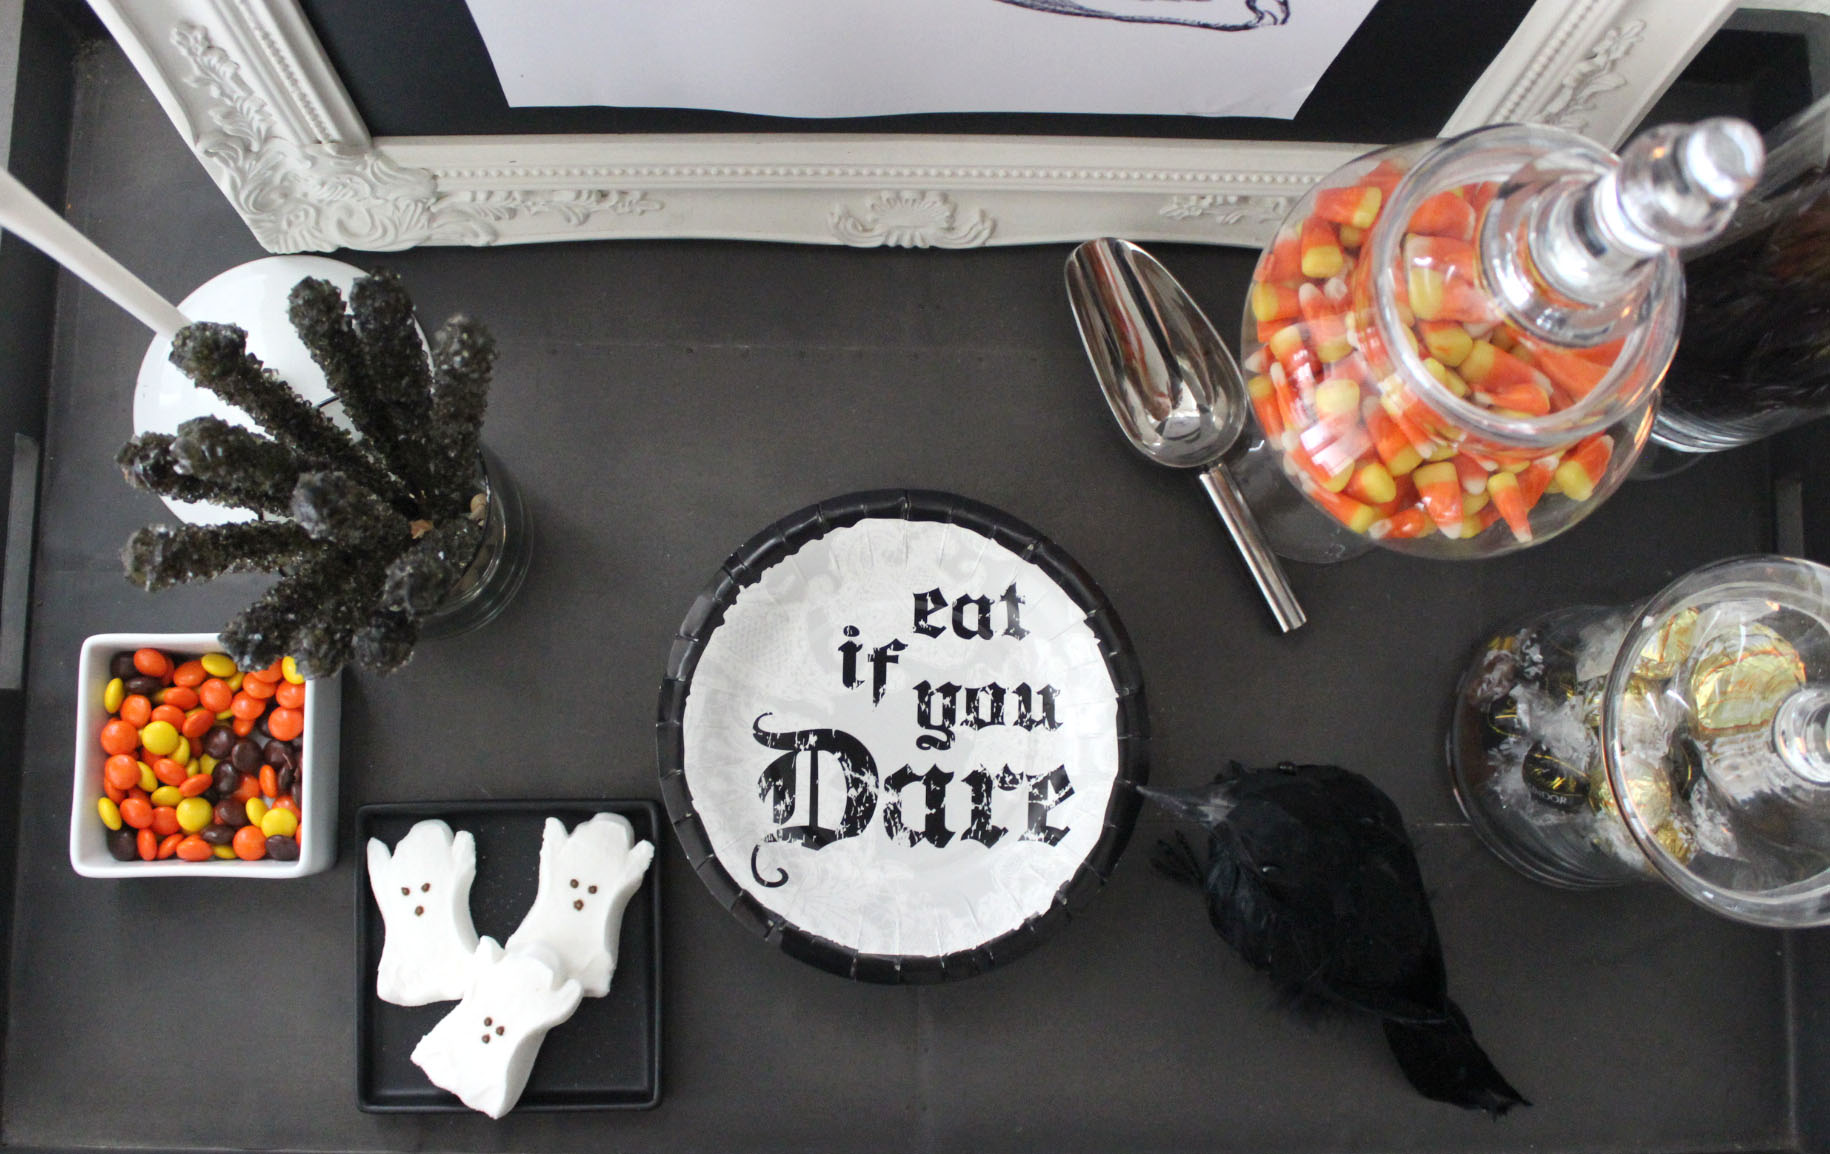
This now frees up the buffet to be my dessert table. Although we are adults now and prefer cocktails to candy…Halloween will still always be about candy! I decided this year I would do a candy display as the centerpiece of the dessert table.
THE BAR:
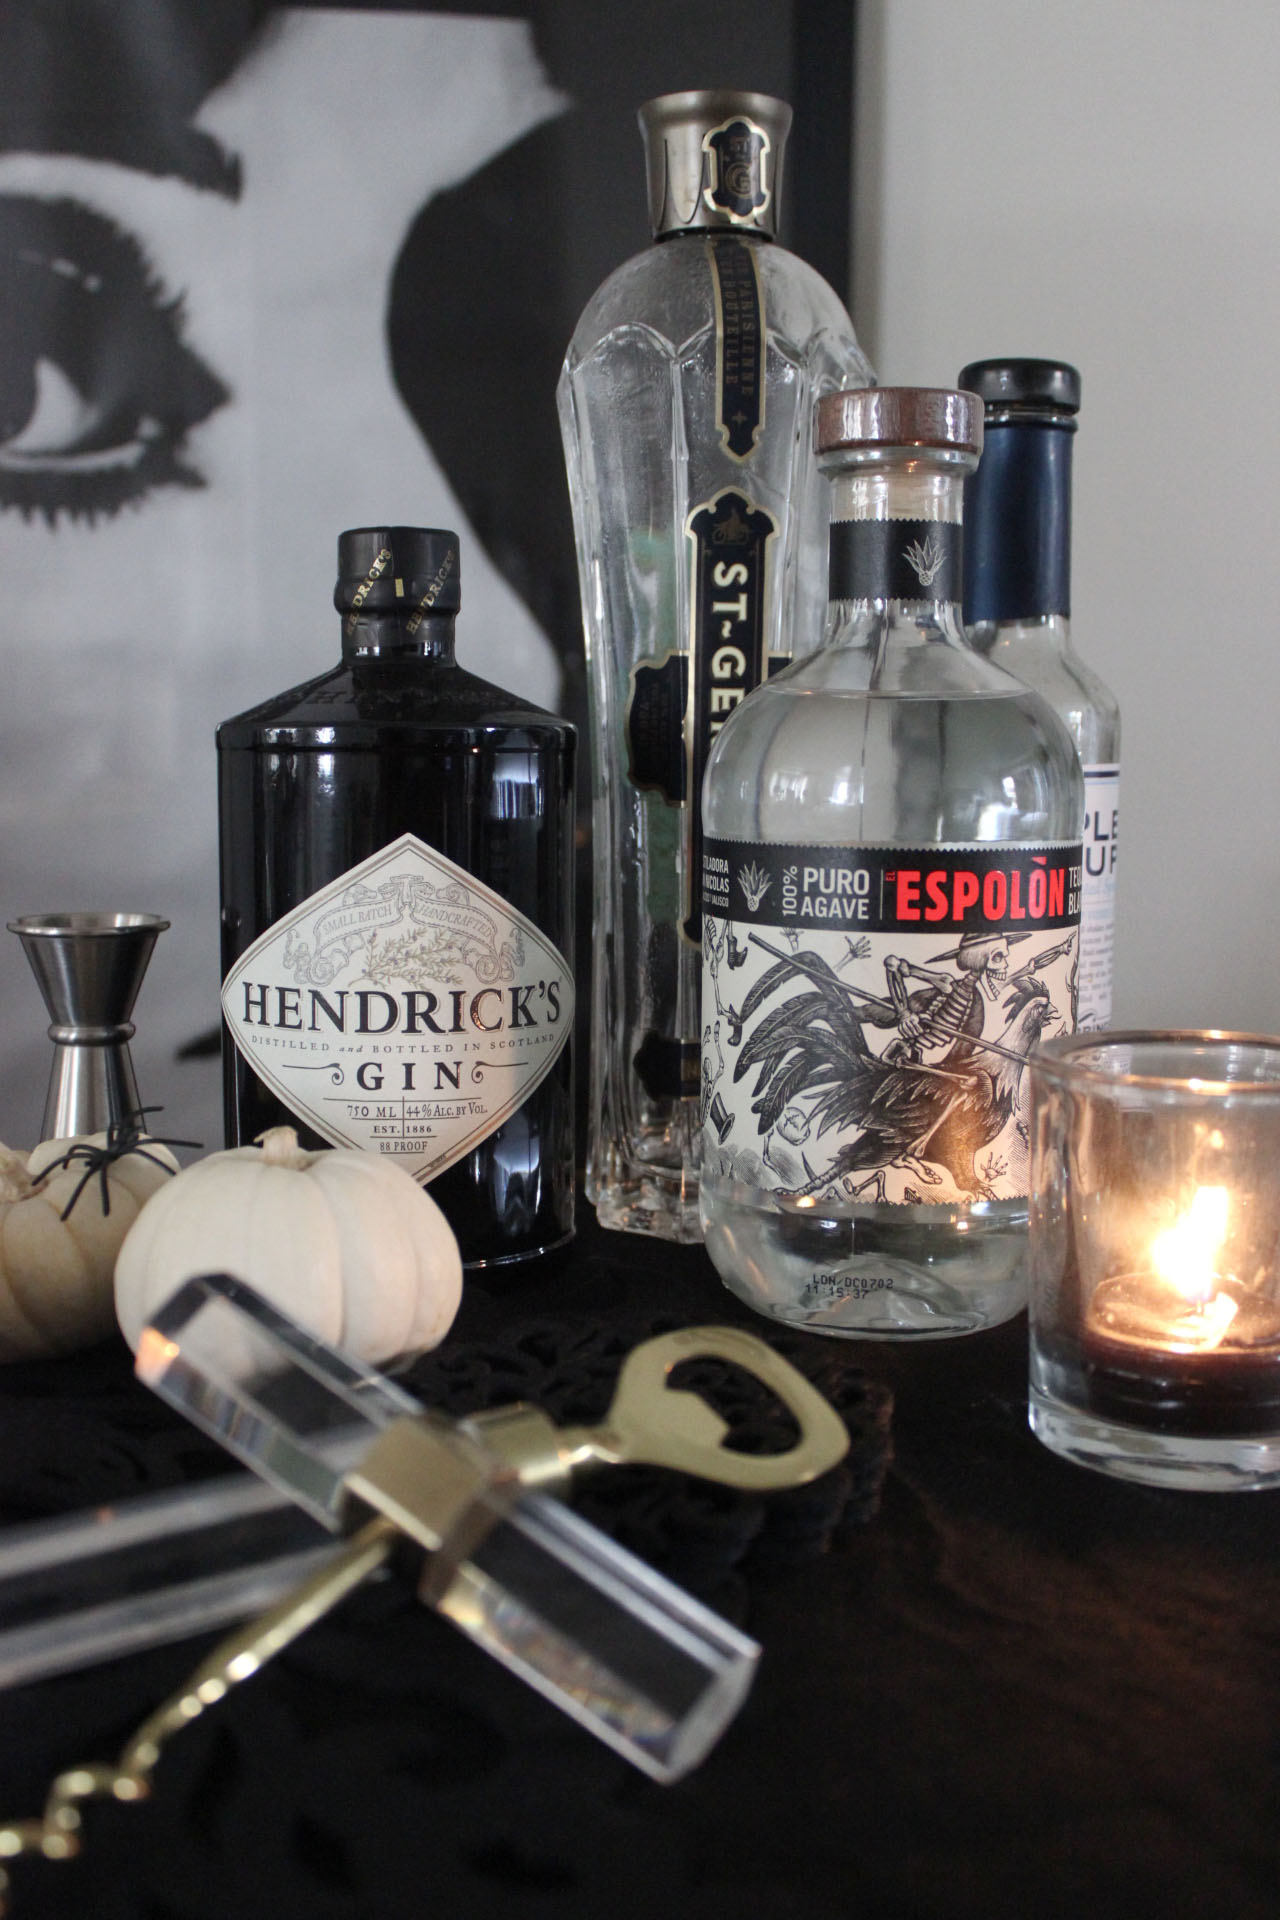
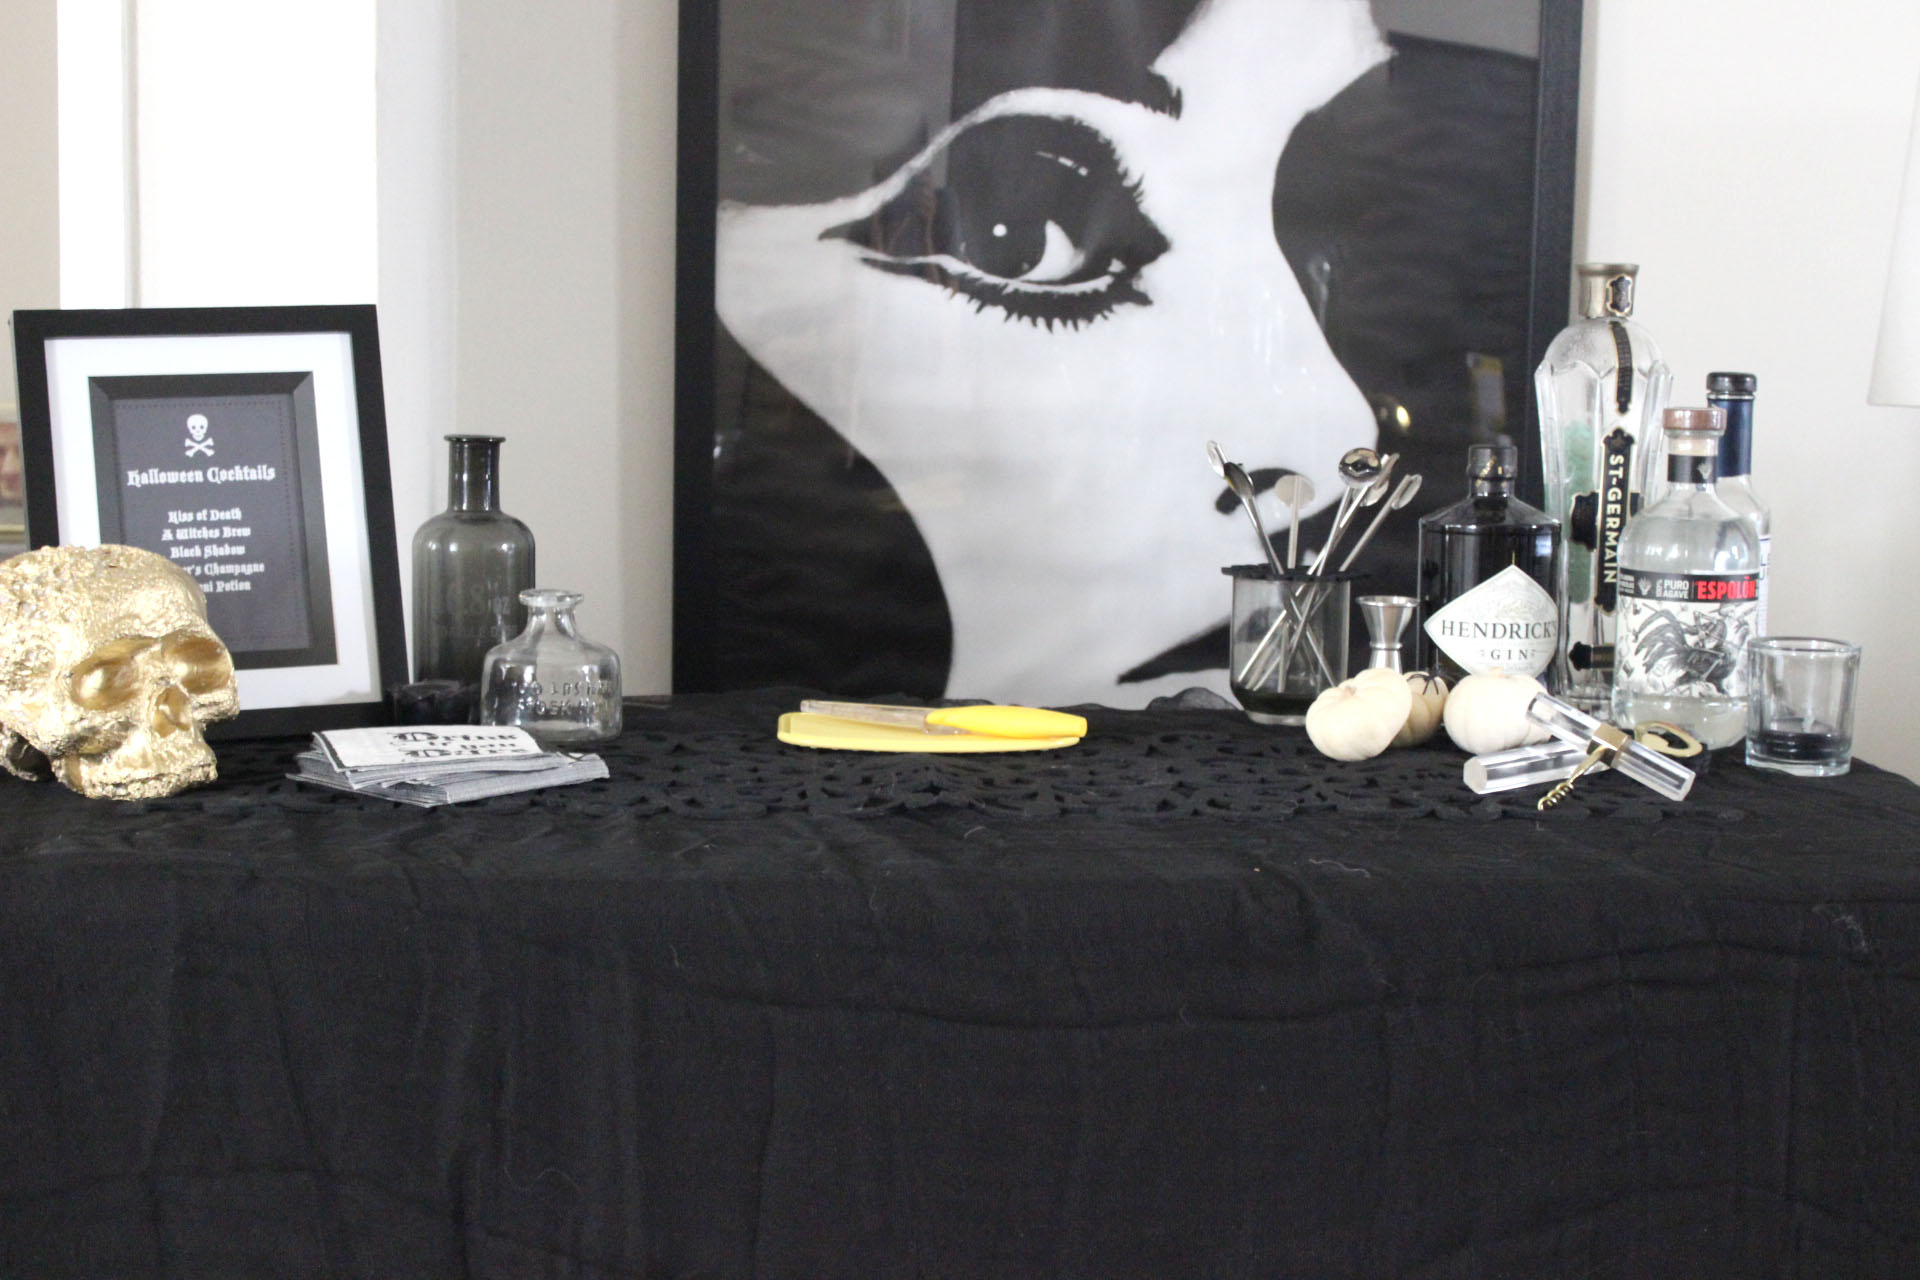
This year I am setting up a temporary bar between the dining room and living room. You can use a folding table, bar cart or a console table from another room. I have a portable folding table I am going to use. This way I can set it up closer to the living room and people can migrate from station to station as they mingle.
I am covering my folding table with a black tablecloth. I prefer cloth tablecloths, not plastic. Not only is it better for the environment, as you can wash it after the party for reuse, but as you host more gatherings, you will eventually accumulate a nice collection of colors and sizes. Most often, if you own a black and a white tablecloth, you will be covered for any holiday occasion.
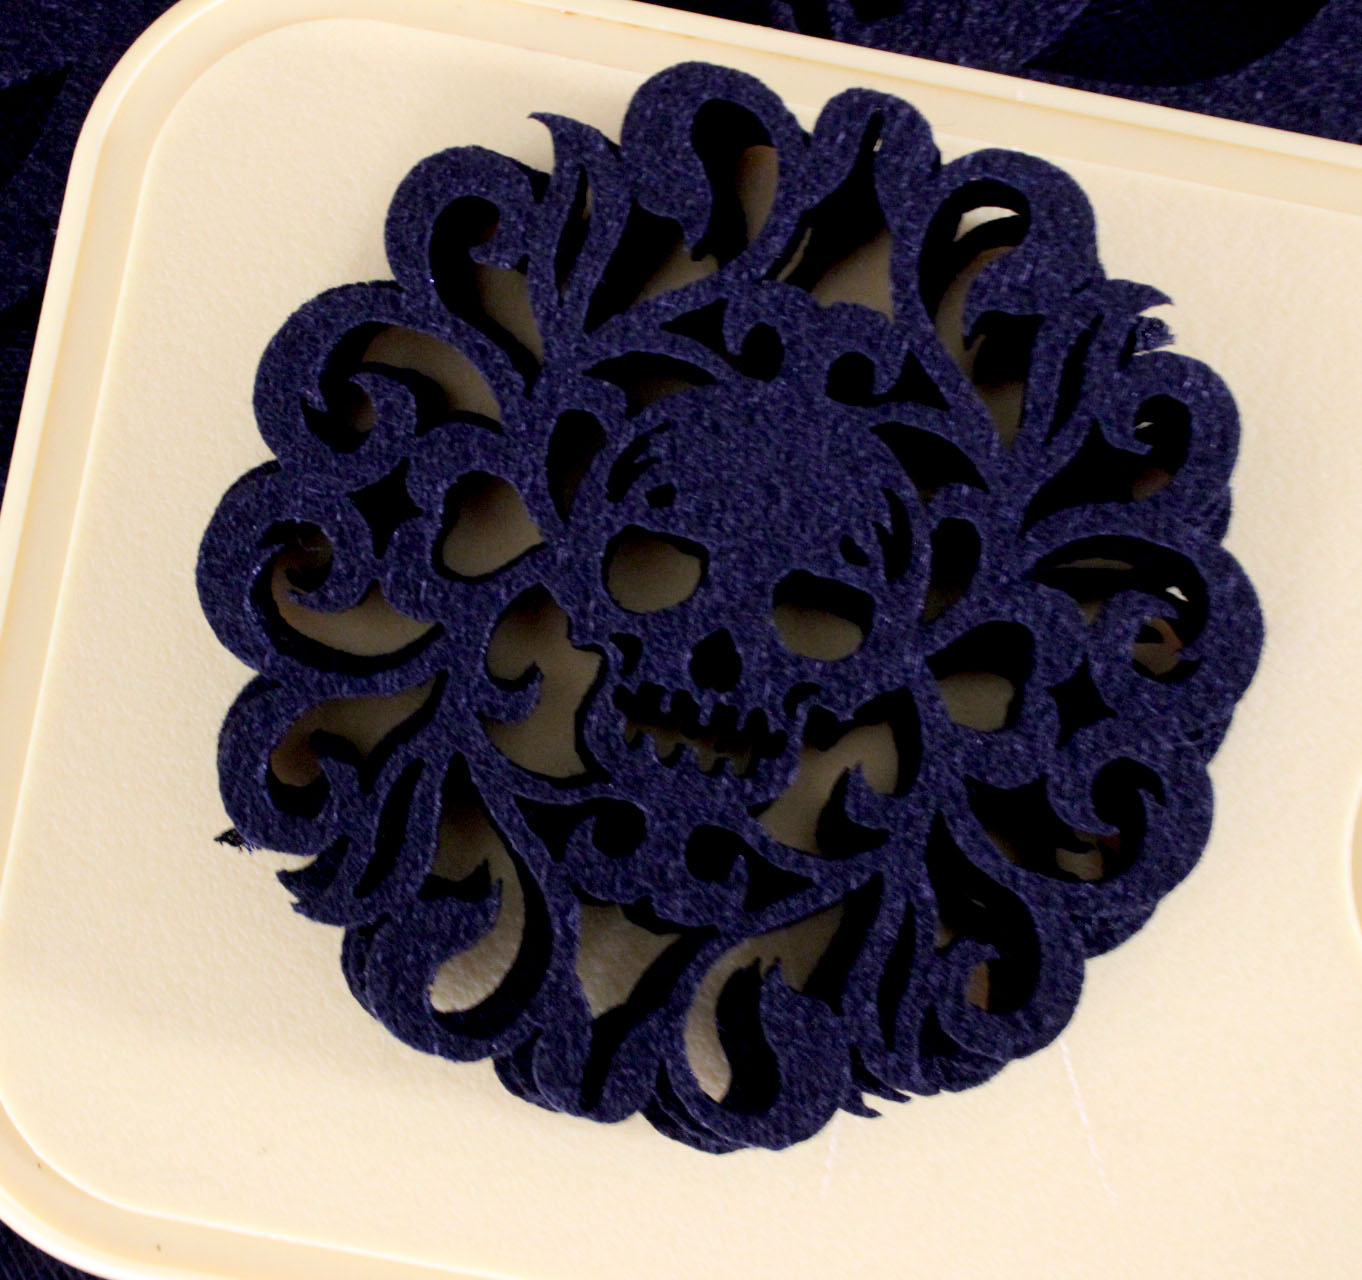
I also found a skull themed black table runner and these great felt coasters!!! I thought these would be cool to give my guests with their drink, plus it’s a gentle reminder to use a coaster in my home!
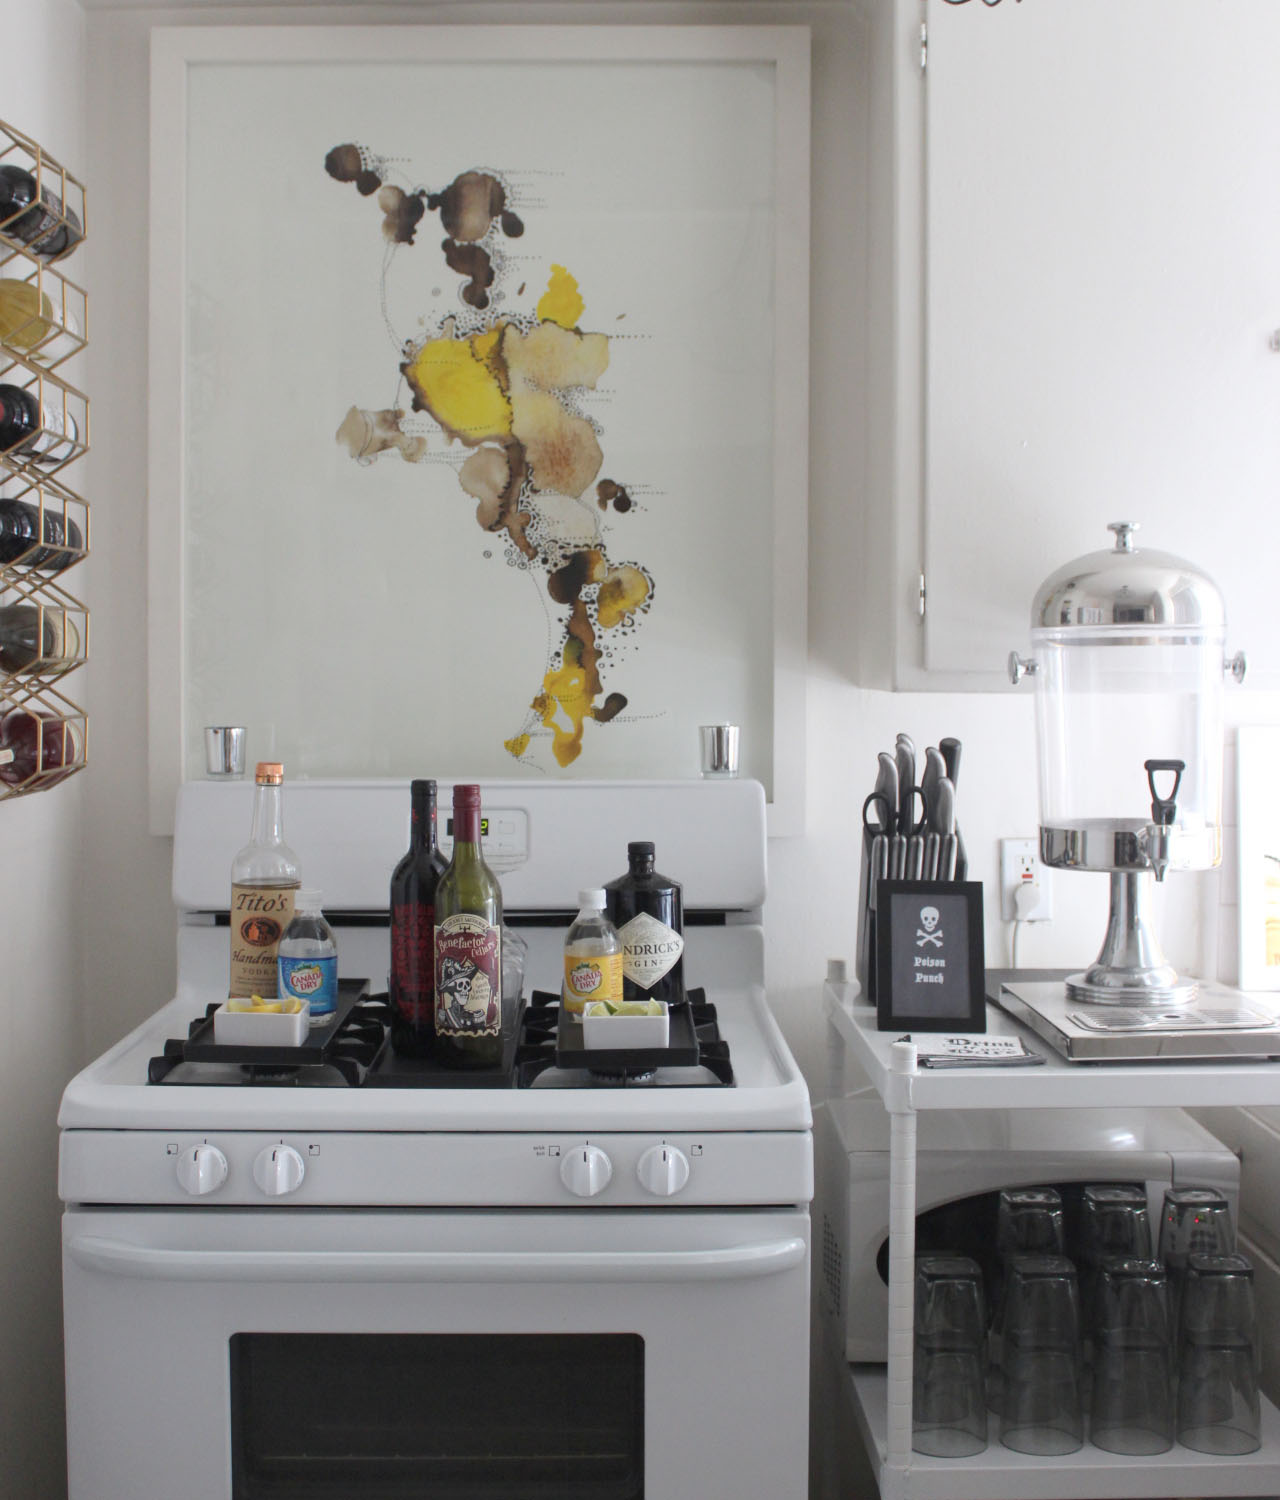
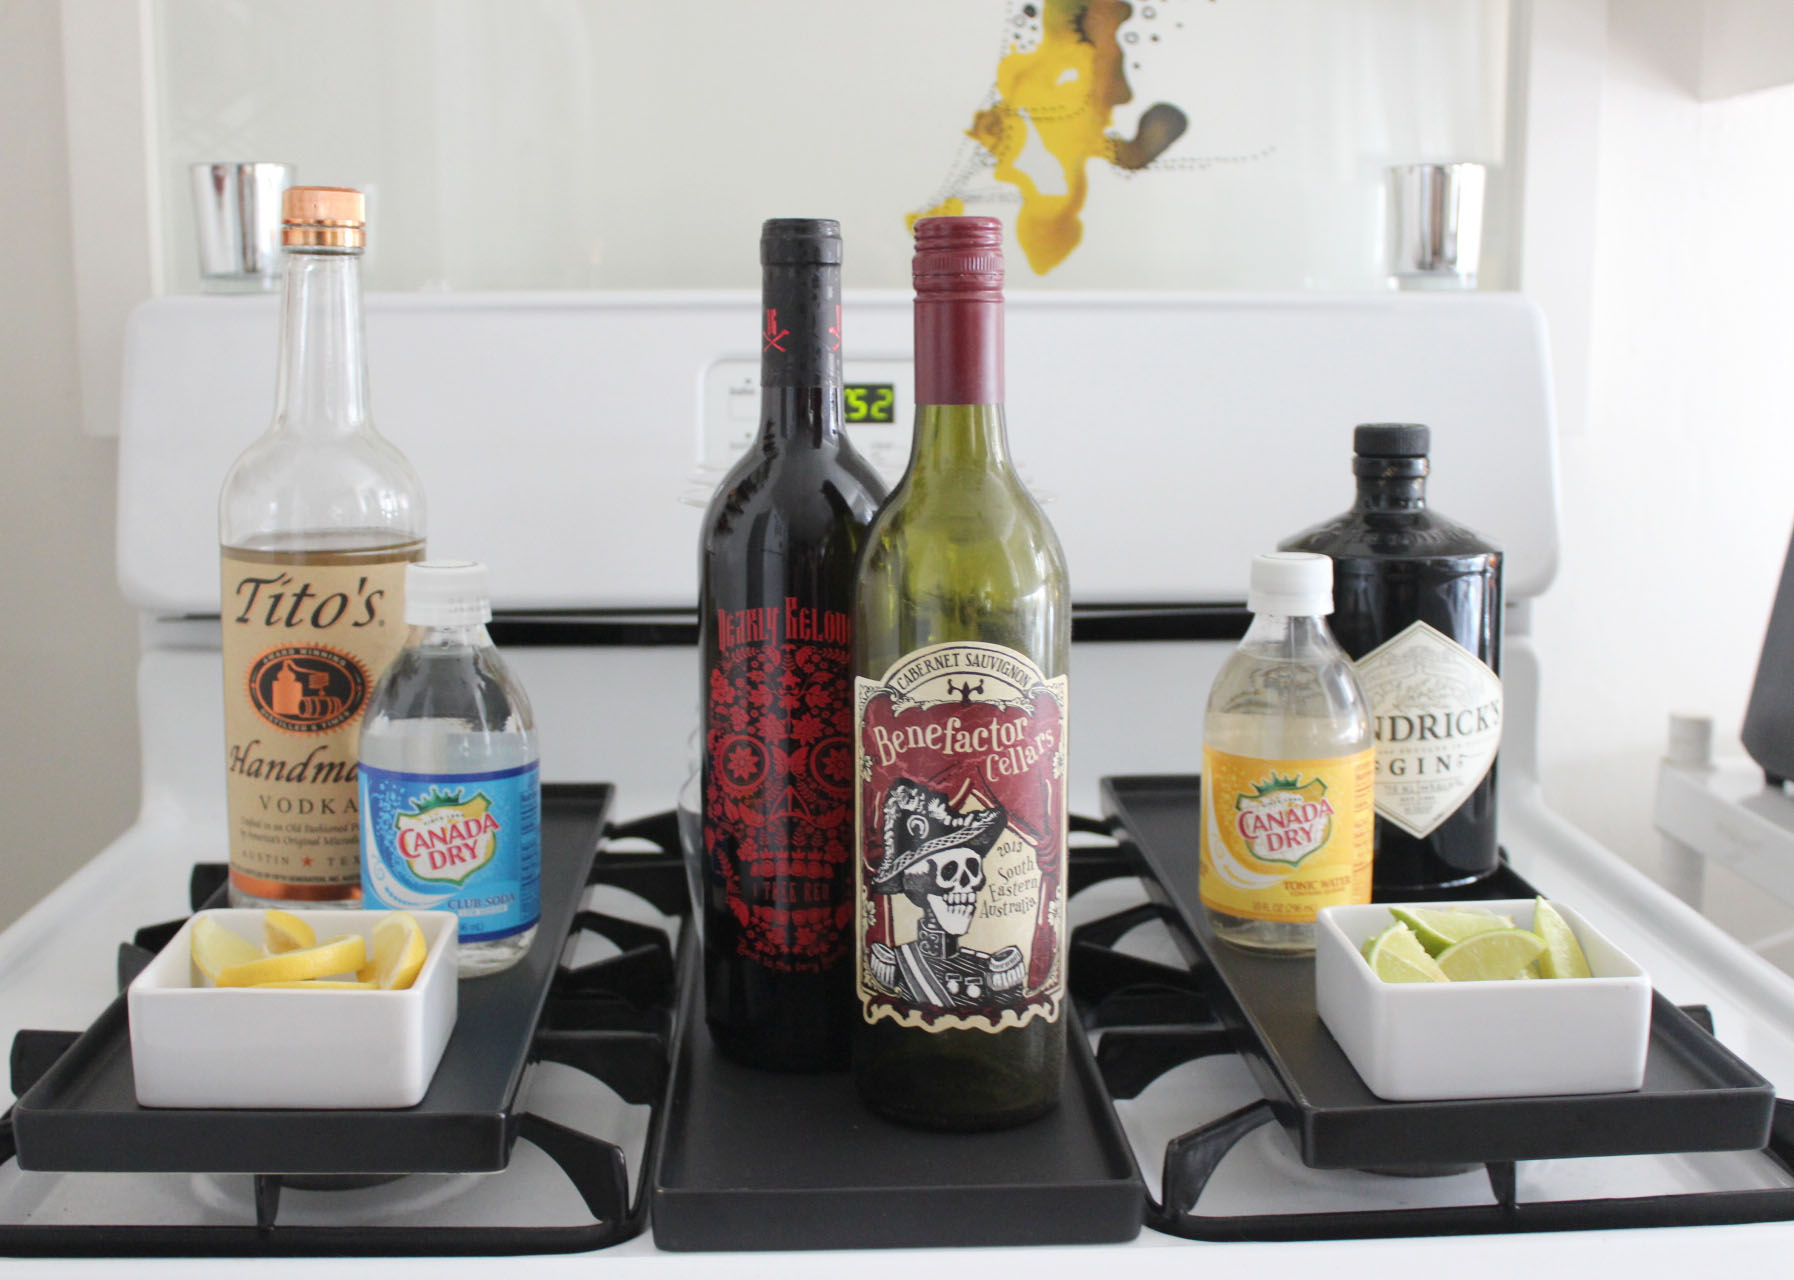
Now, the bar table is smaller than my buffet, so I wasn’t able to do the full bar set up there, just the cocktails, so I created an additional drink area in the kitchen.
I will be placing my punch dispenser there, along with the items to make a vodka soda, a gin & tonic or for my guest to pour themselves a glass of wine. I also keep a selection of beer and sodas nearby in the fridge, so it creates a great self-serve drink area.
The Cocktail Menu:
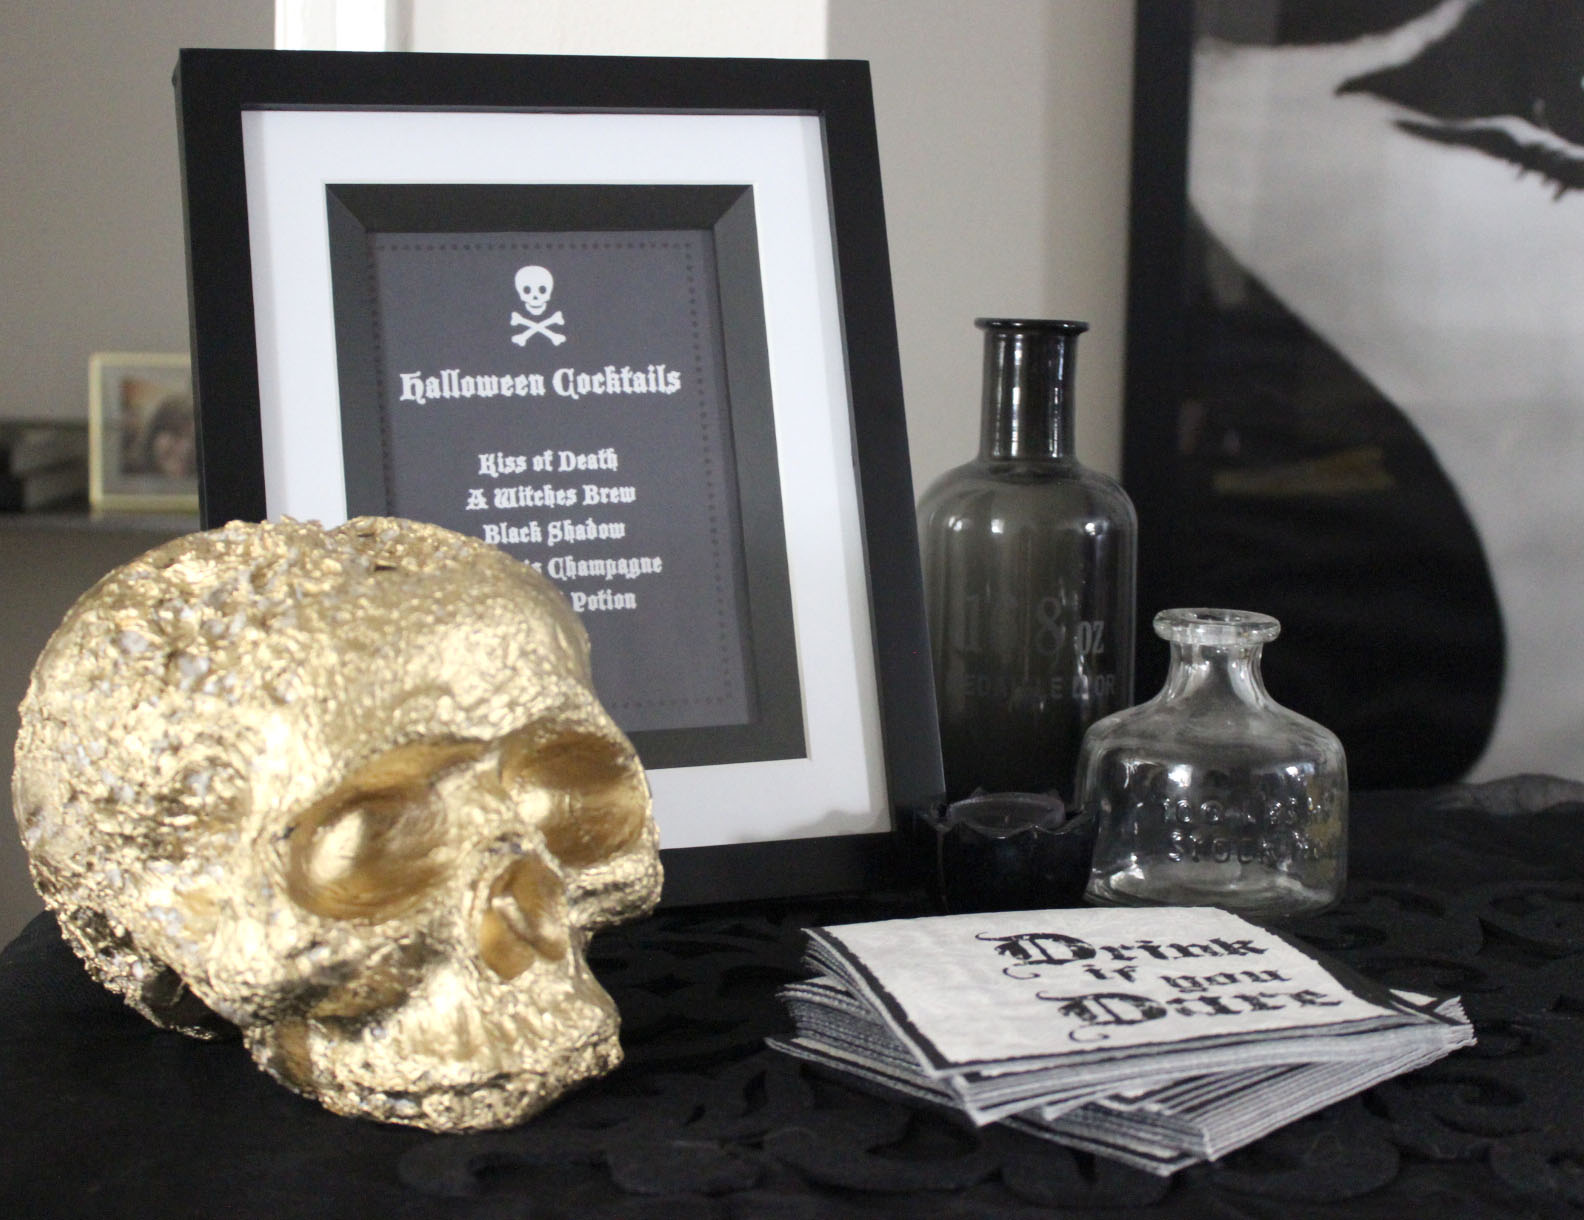
I love having a printed cocktail list. Everyone always comments on it and it is such an easy way to impress your guests. This is my design for this year:
I am keeping it very simple with my skull theme for the card. I frame the list and then I print it out on card stock with the ingredients listed. I will be posting these cocktail recipes on week three.
The Rest of the Room:
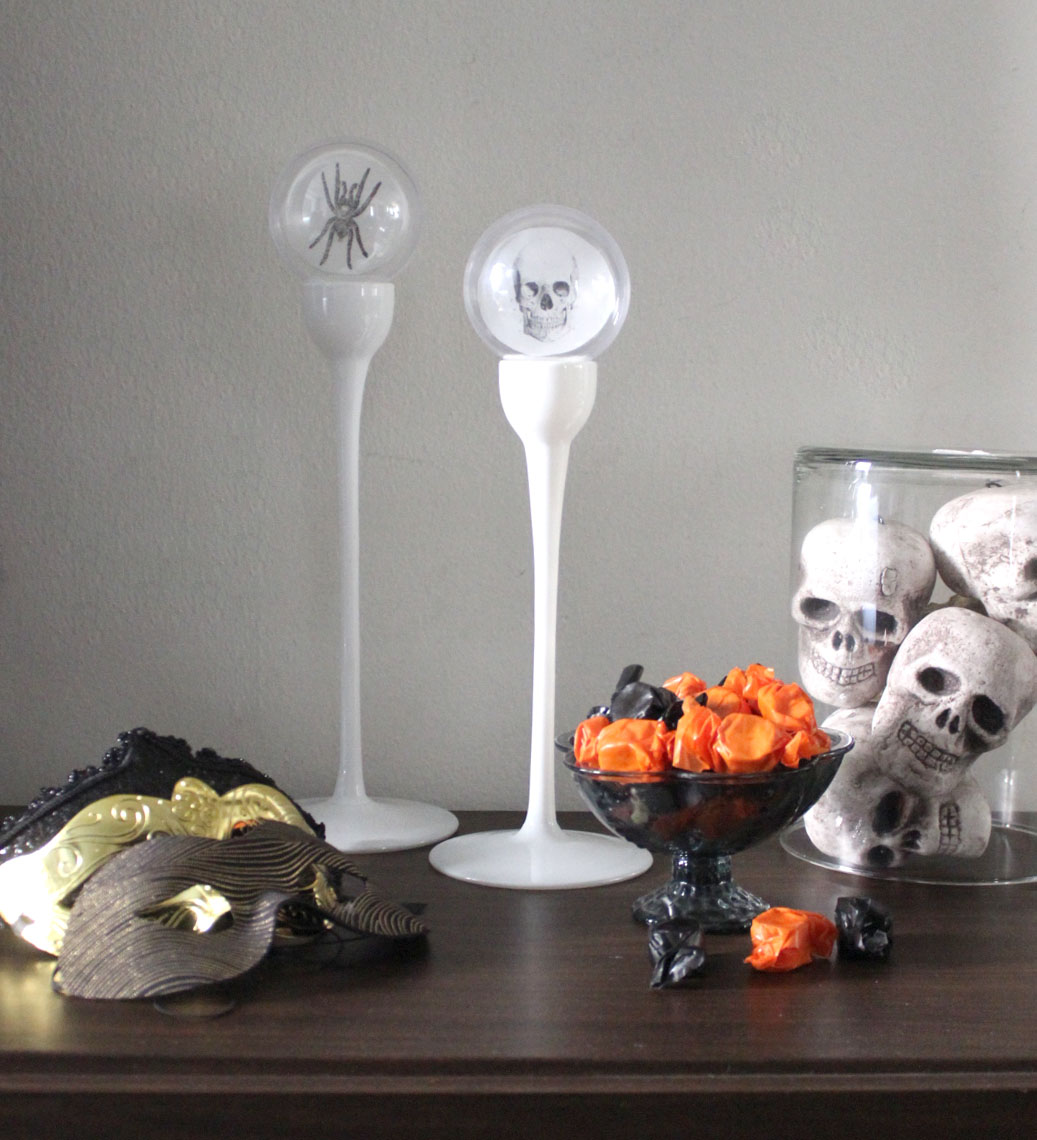
I only have a few areas left to place Halloween décor, so I am doing the following display by the entry. I purchased a large glass dome at my craft supply store and placed some skull heads underneath. I also keep a few masks by the door, because every party has a pooper, so these are ready for my guests who do not wear costumes.
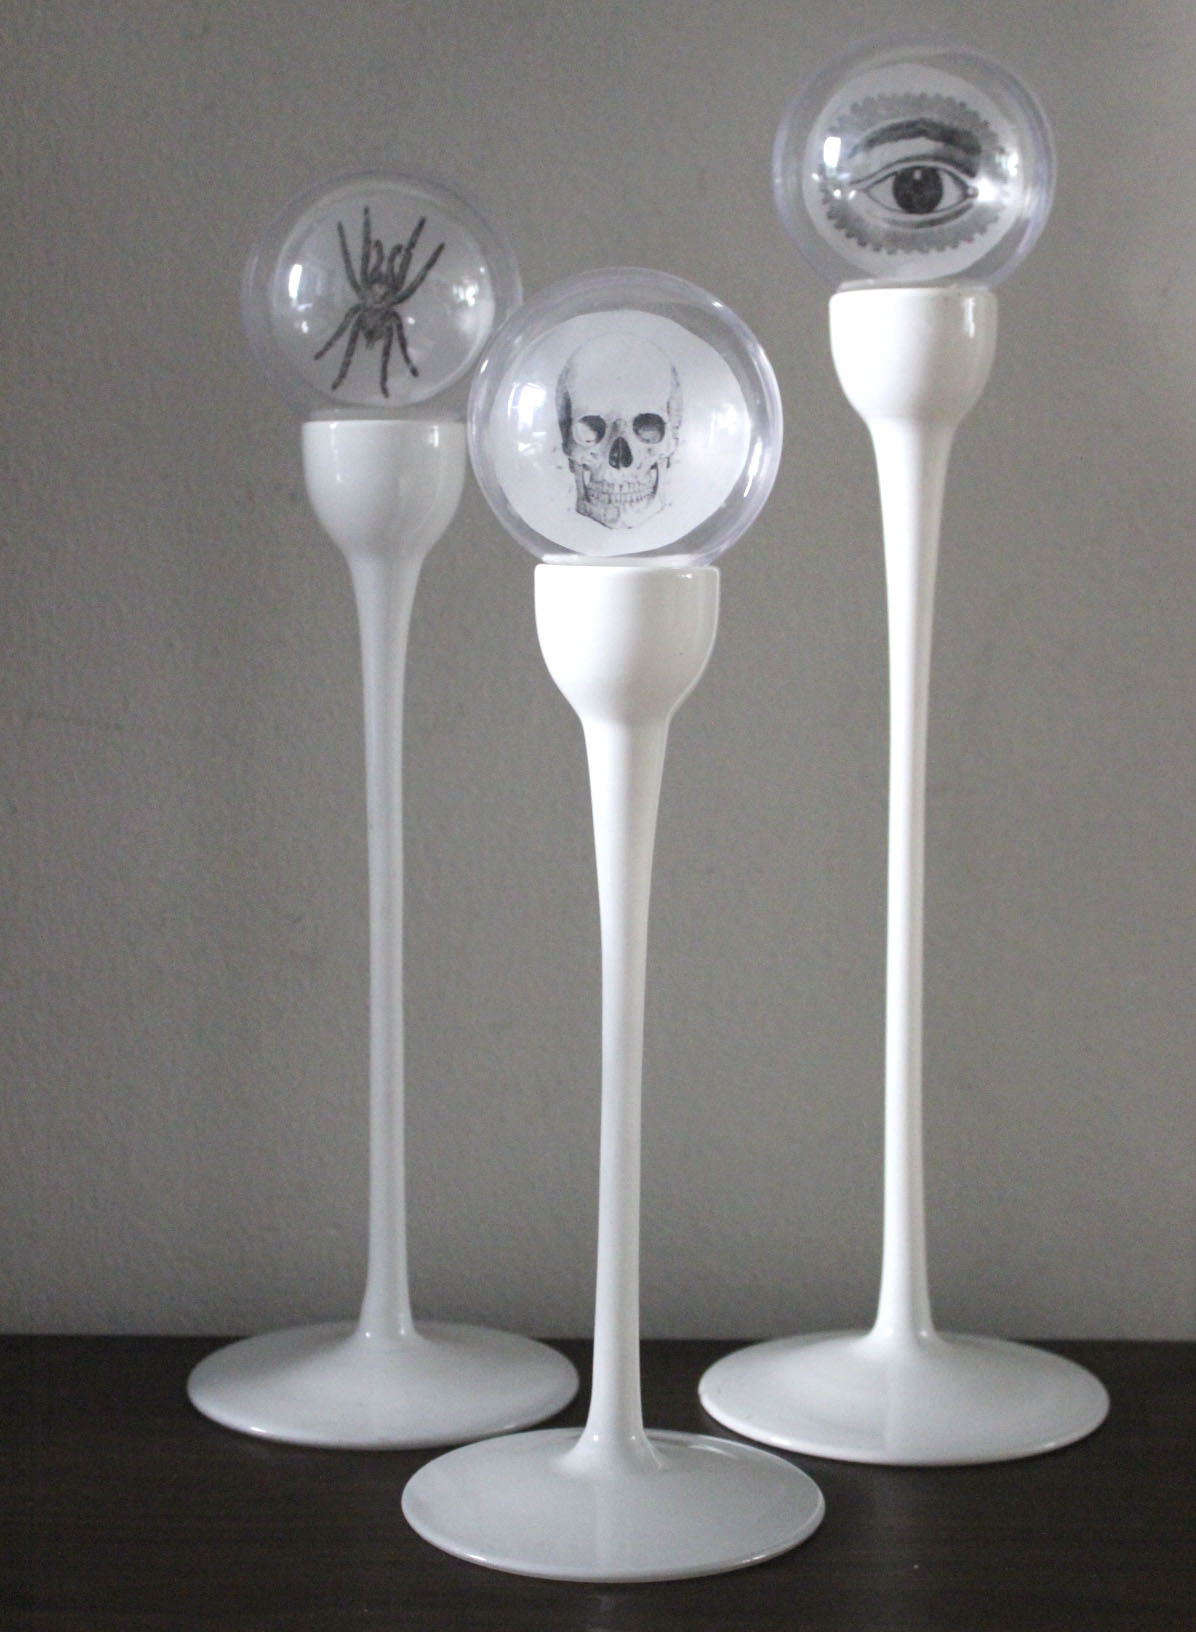
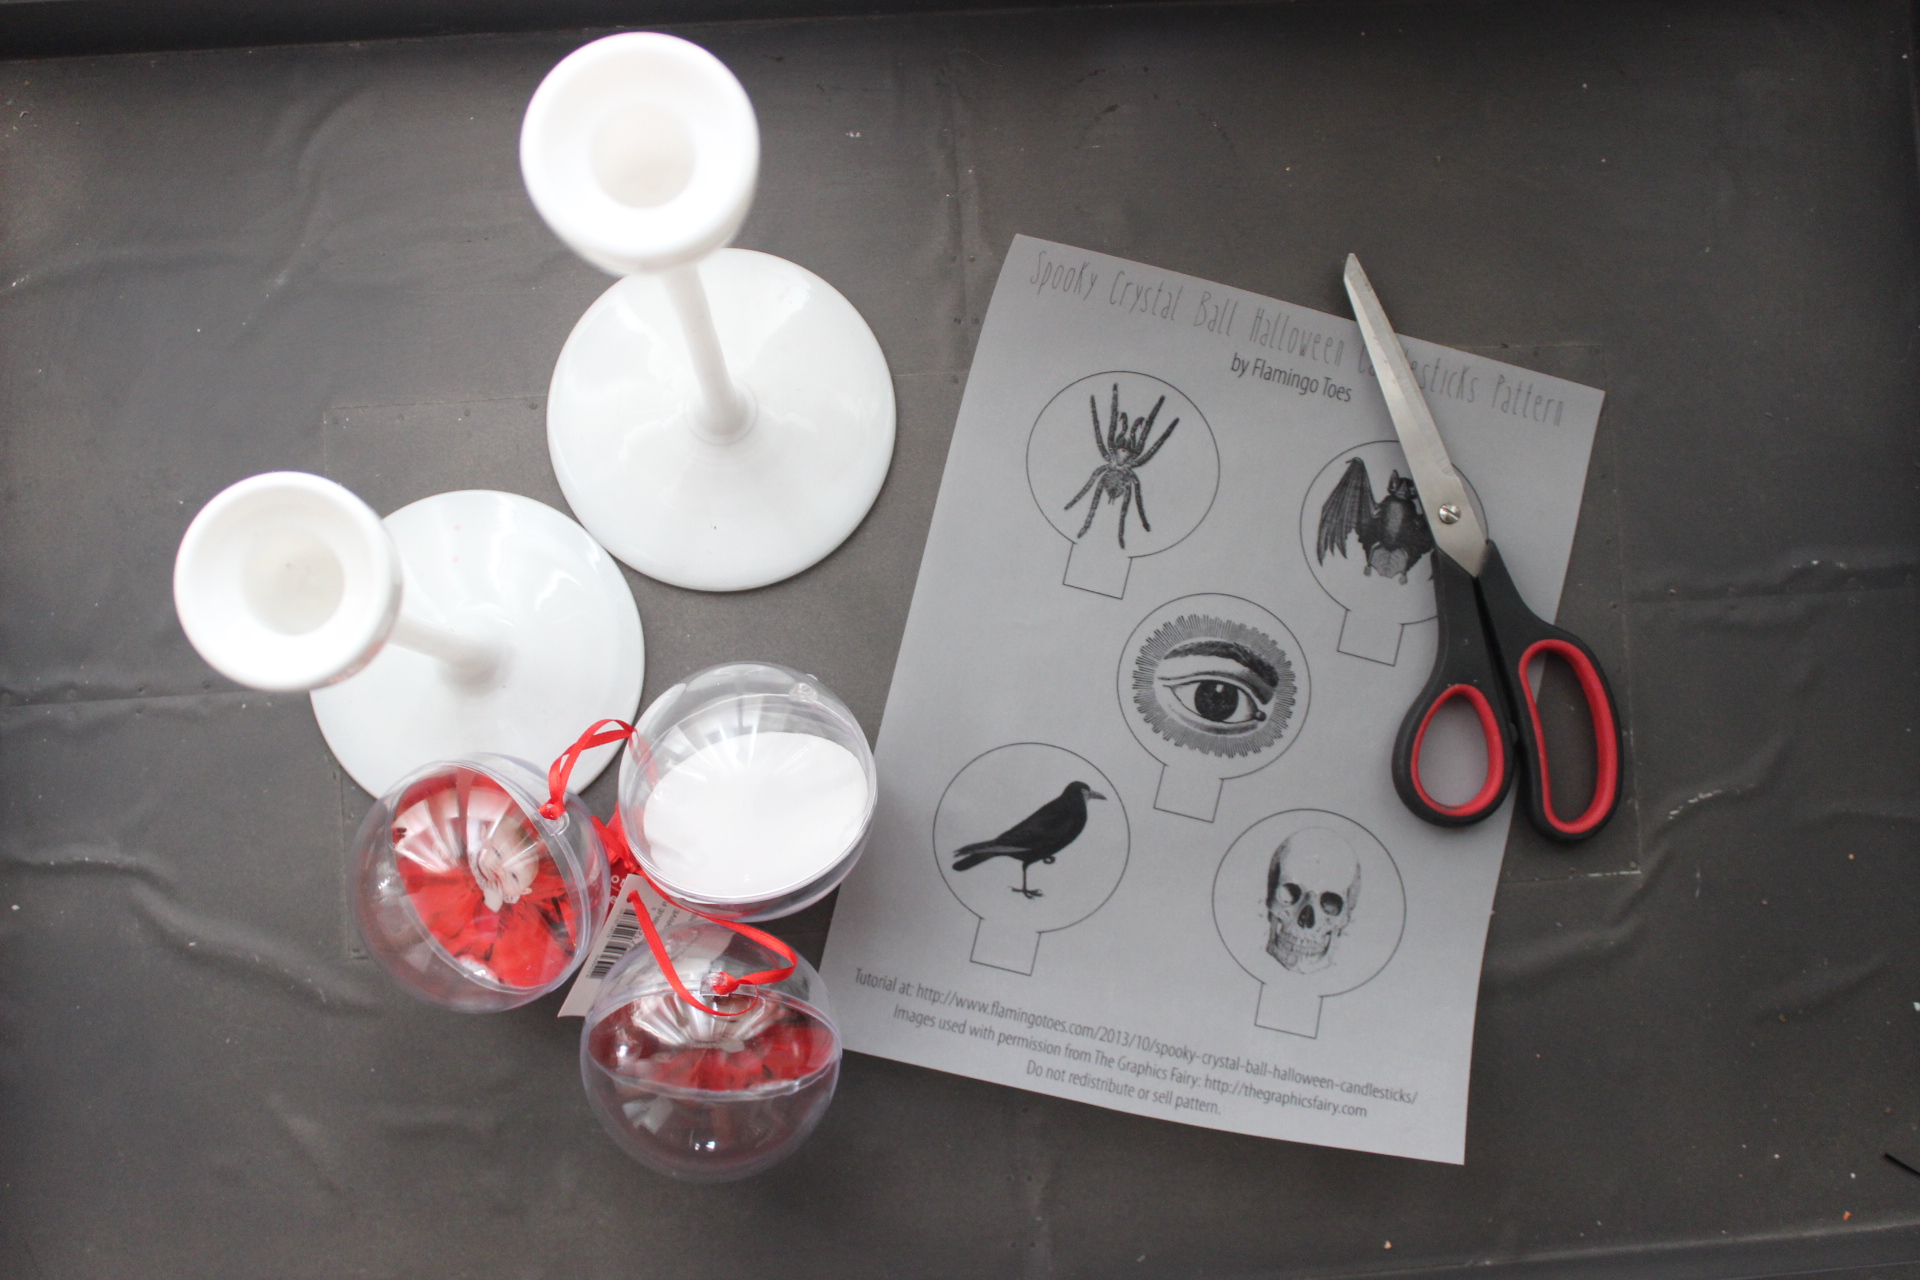
I also found this great candlestick DIY from The Graphics Fairy’s website when I was searching for skull images. She uses traditional glass Christmas balls, but I purchased pre-made “pop in photo” ornaments making this easy DIY even easier! I printed the images on a sheet of velum, popped them in the Christmas balls and they sit perfectly in my chic white candlesticks.
Click here for Candlestick DIY
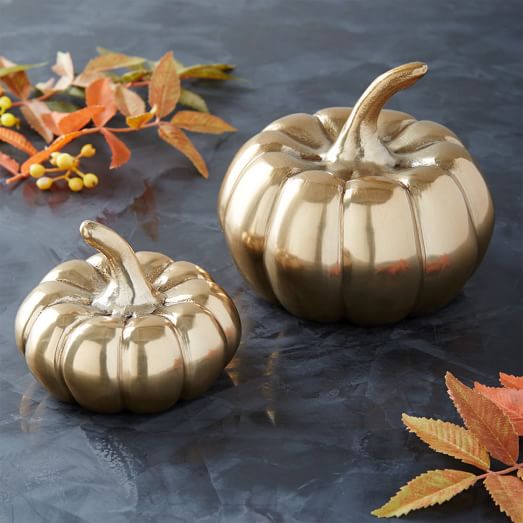
Now, I am sure by now you have noticed the gold touches in my photos. I was originally inspired when I came across these FABULOUS gold pumpkins at West Elm.
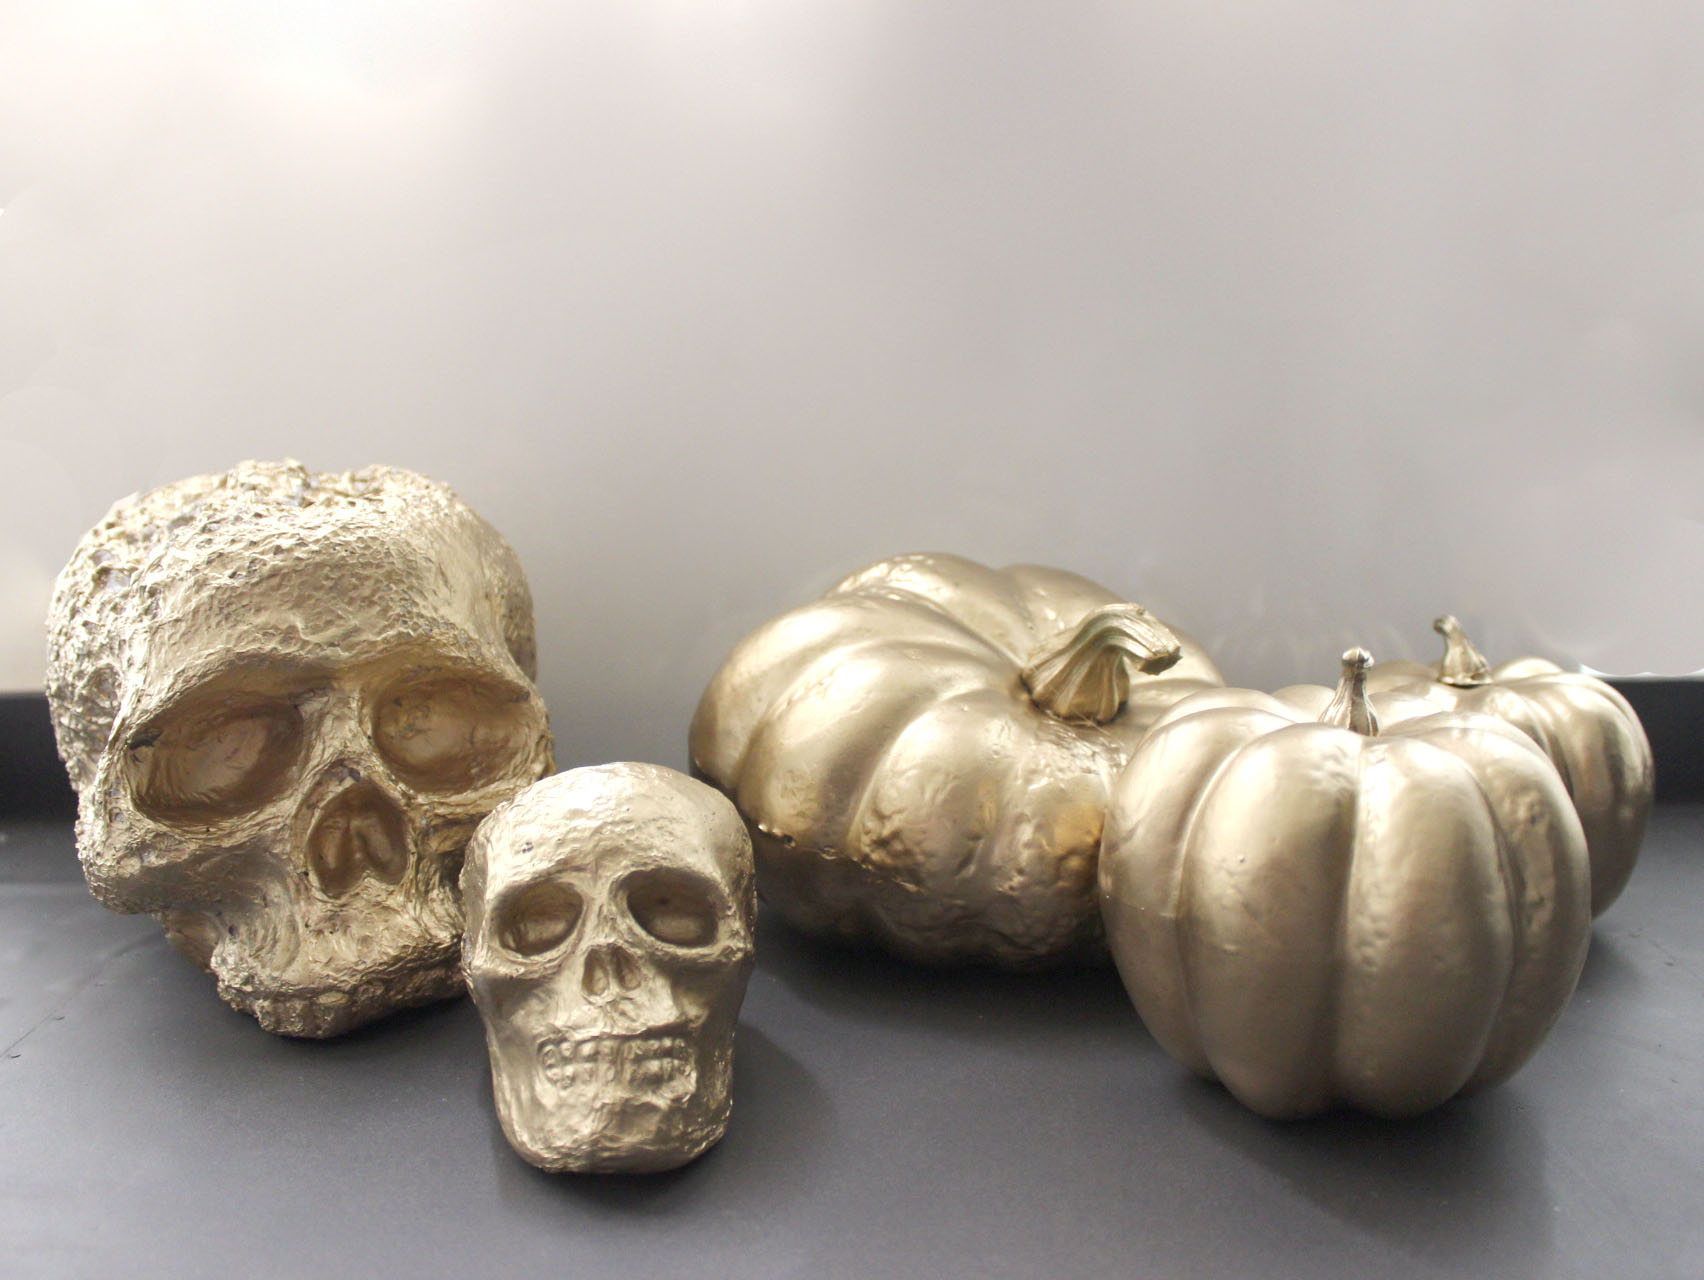
I wish I could afford them! If I hosted Thanksgiving, I probably would buy them because they can be used for all your fall décor. Instead, I grabbed my handy can of gold spray paint, purchased some cheap artificial pumpkins and skulls, sprayed them myself, and wa-lah! Plus, I was able to spray some skulls as well.
I placed these throughout the room to add a small touch of gold for an unexpected Halloween addition.
The Washroom:
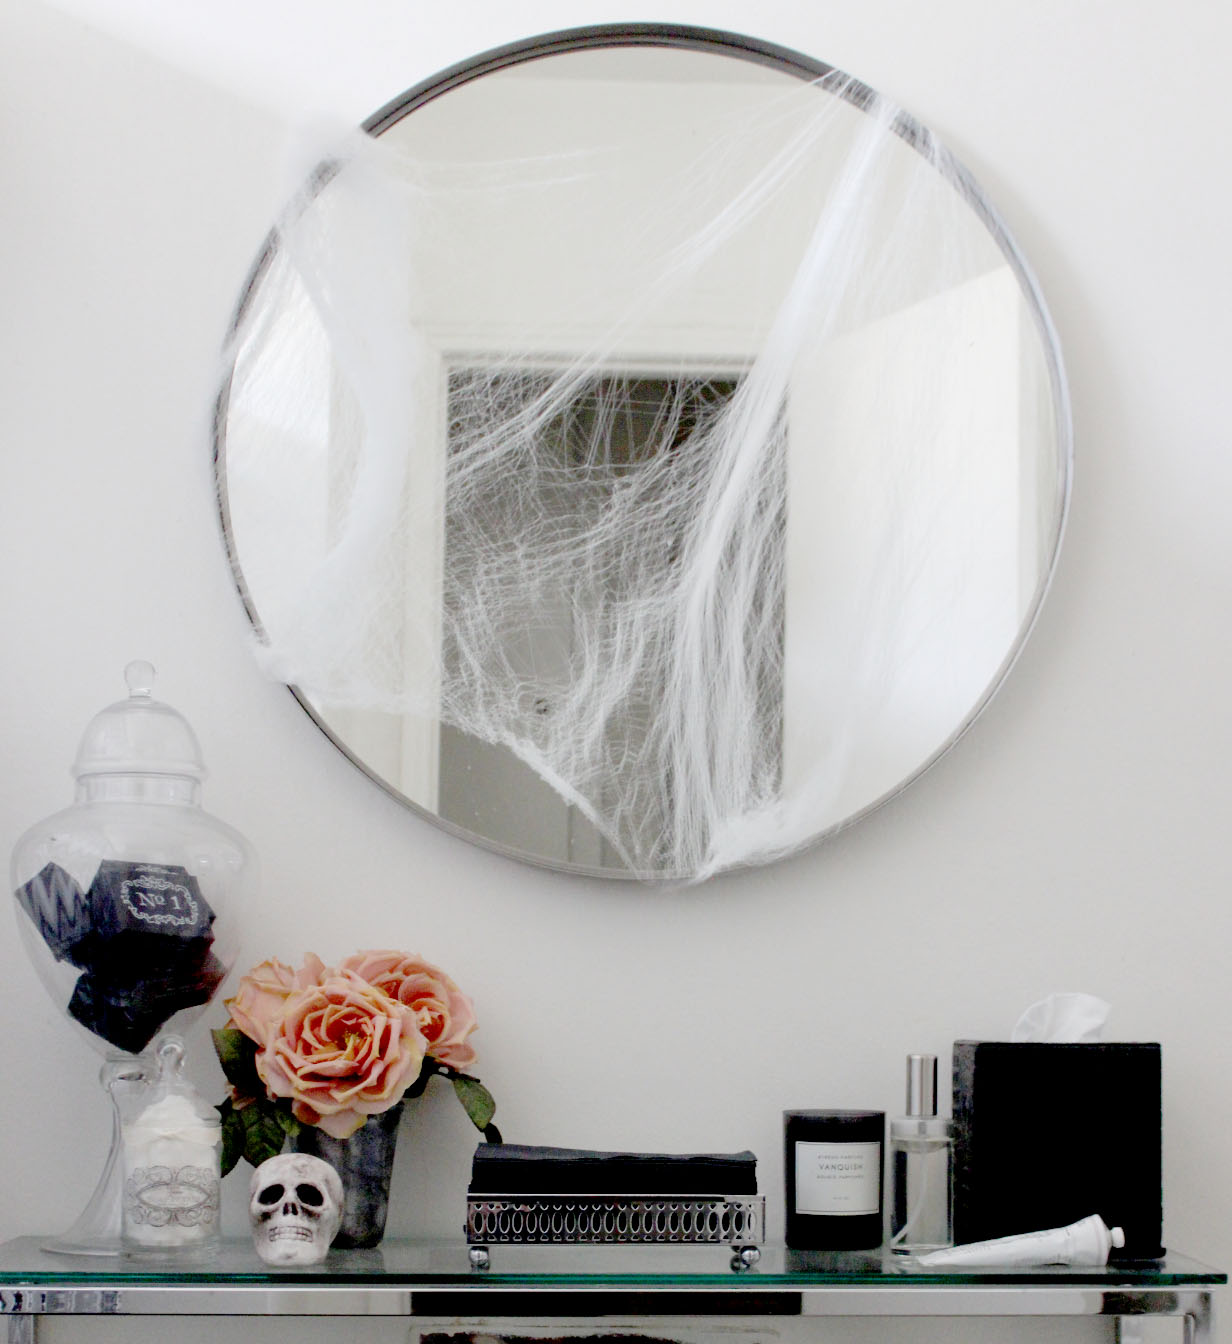
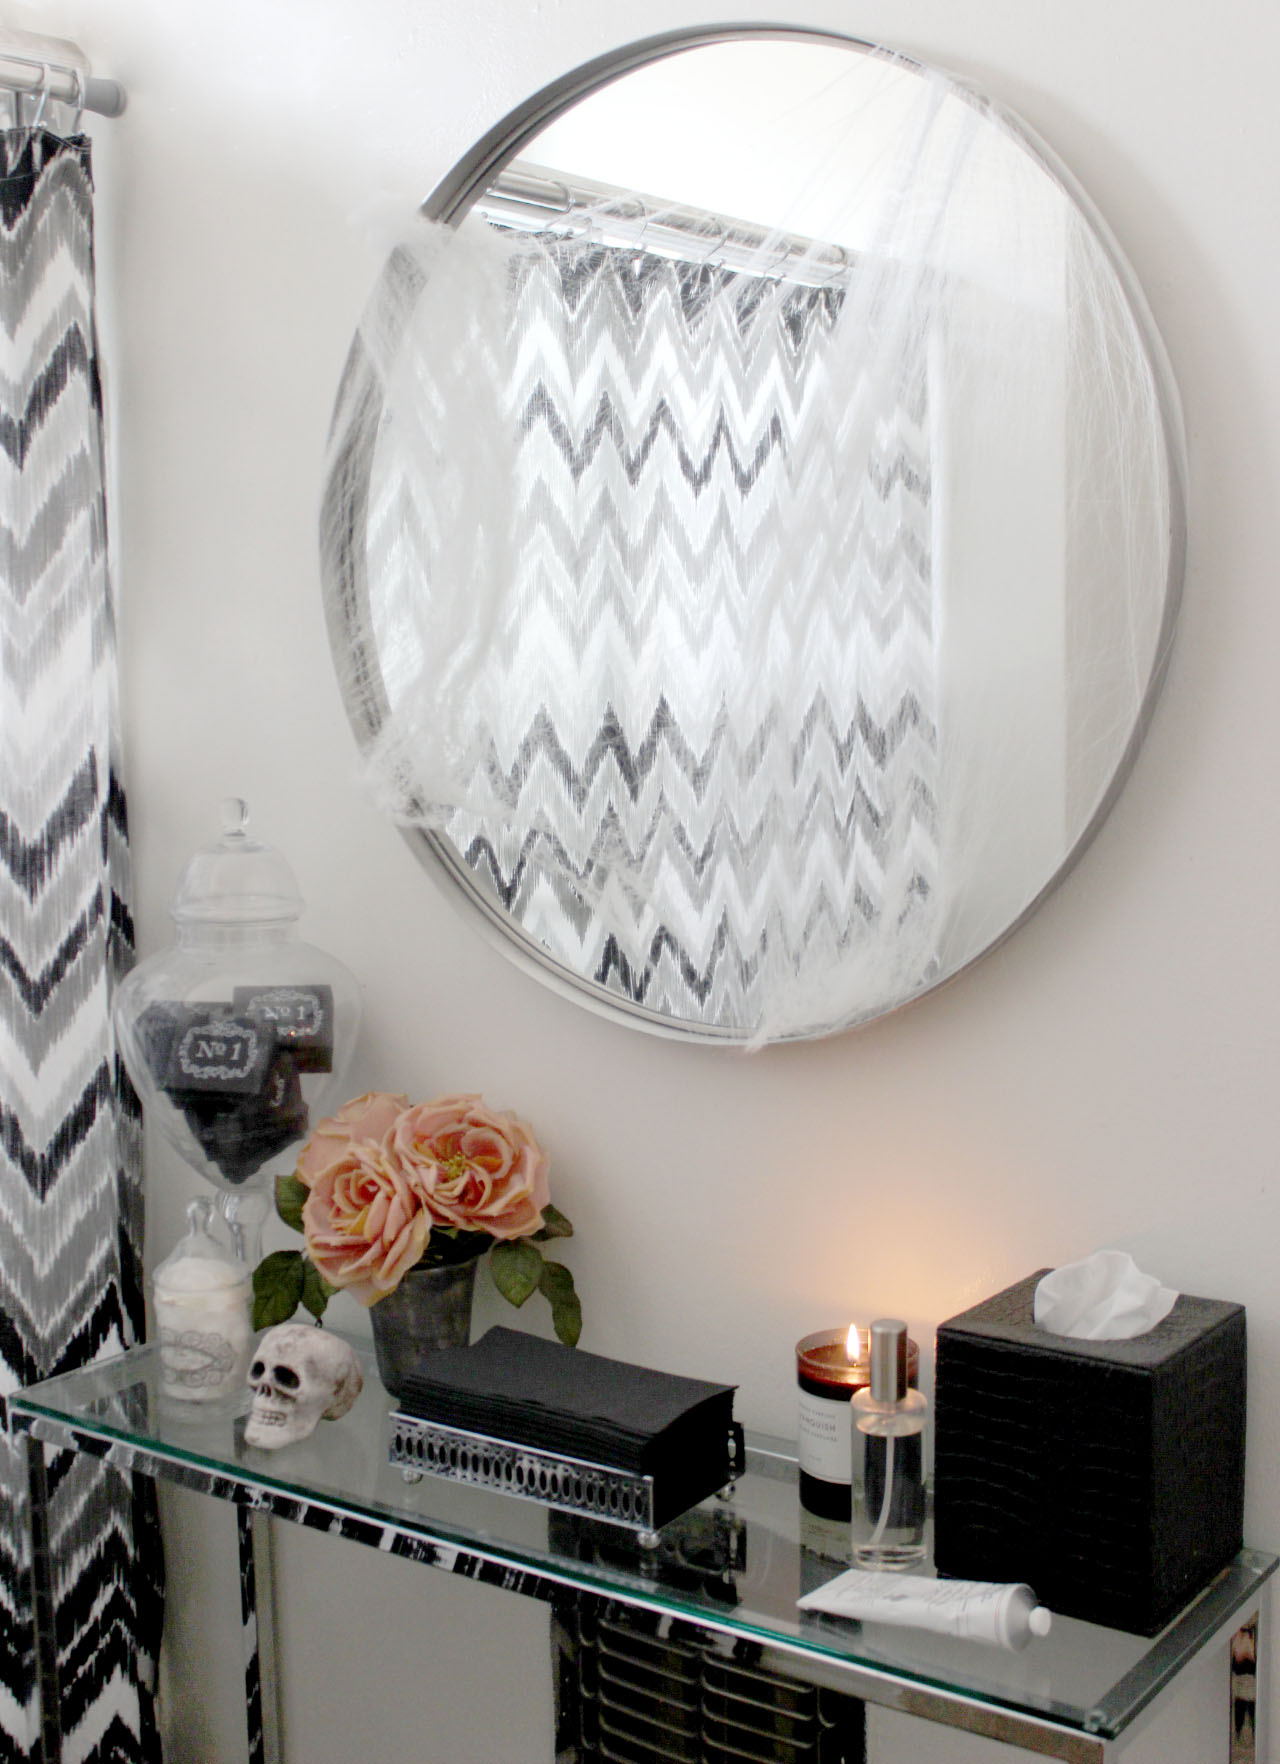
And finally….do not forget the washroom—the finishing designer touch! It’s always a fun surprise for your guests to find out you have decorated this space. I like to run cobwebs and spiders on the mirrors.
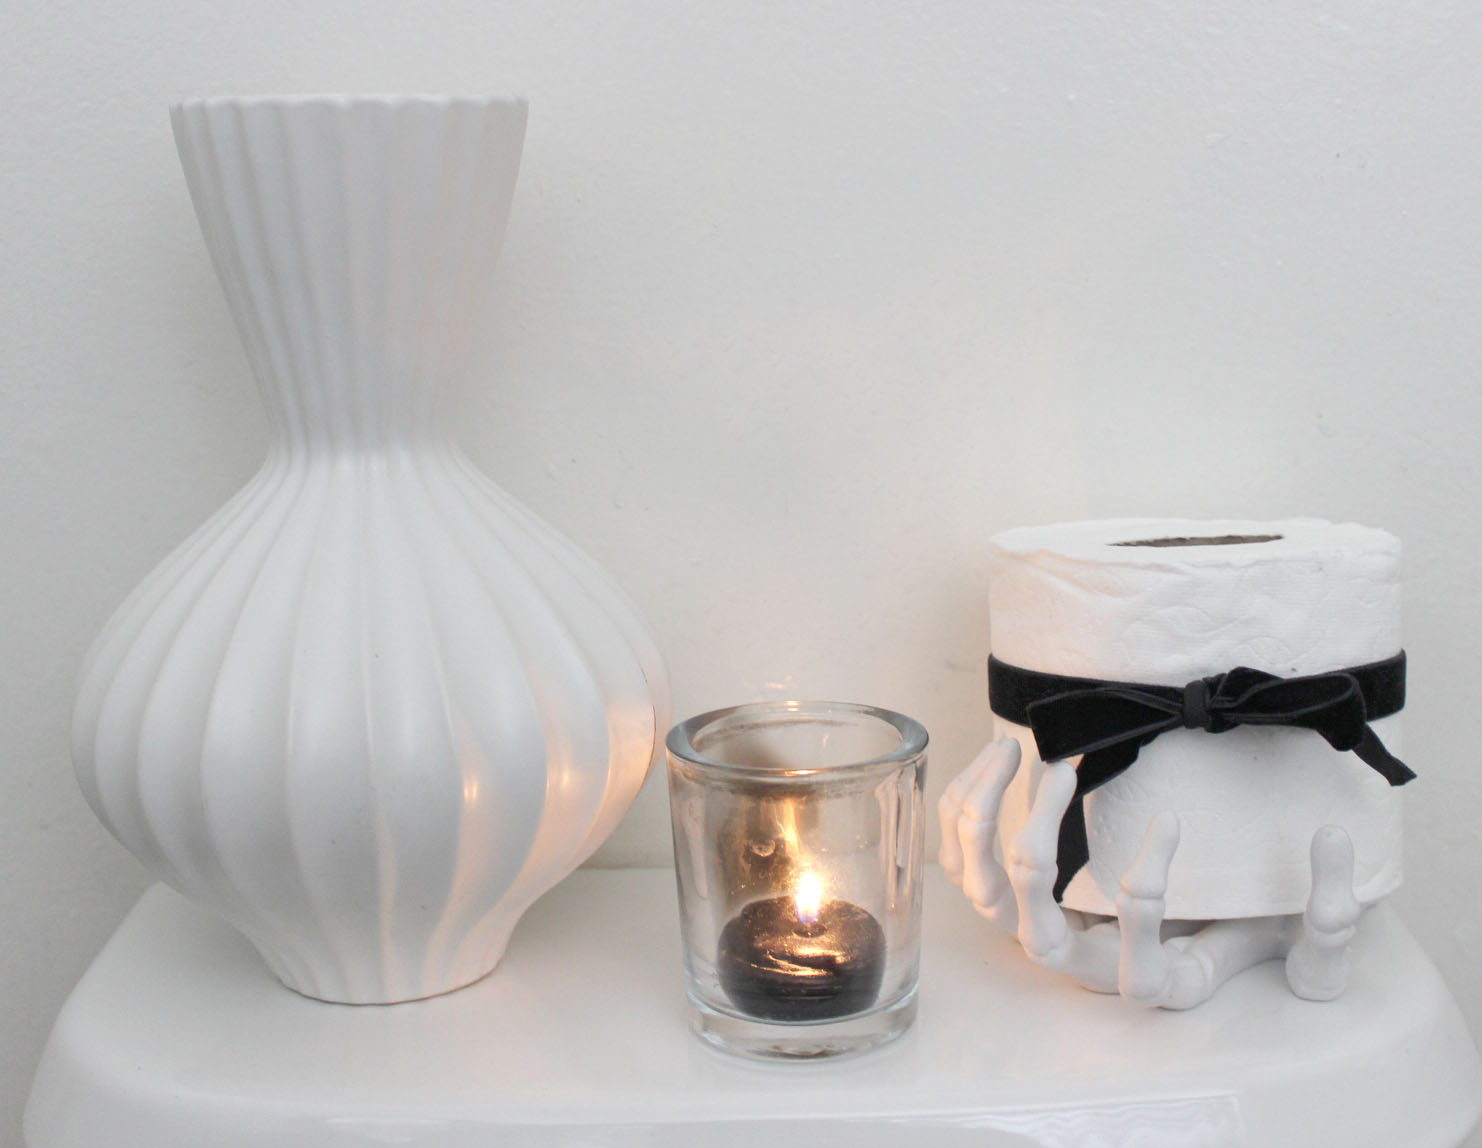
I purchase black napkins for my guests to dry their hands with. You should make sure you have lotion, tissue and room spray for your guests. I also recommend finding a scented black candle to burn for the evening.
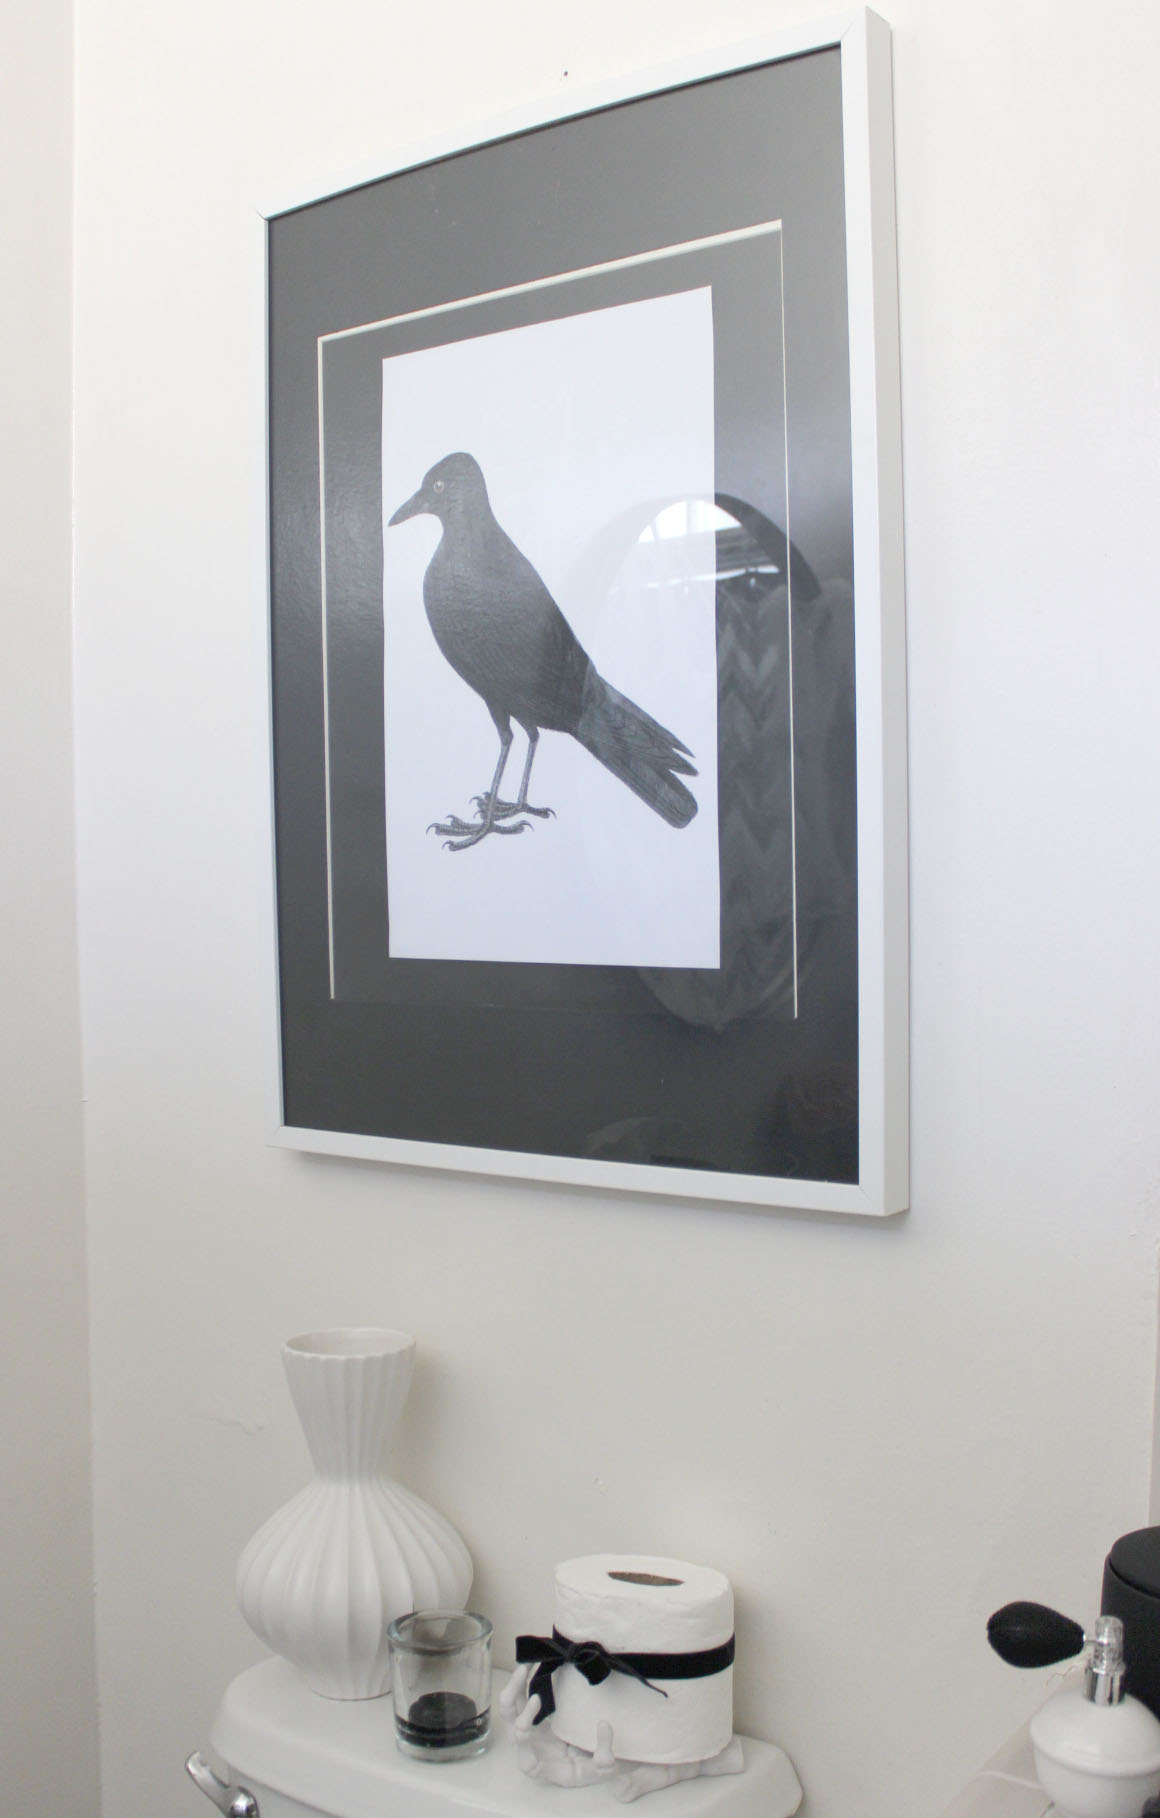
I also put out a roll of toilet paper with a black bow tied around it. You don’t want your guest to run out of tissue. I actually keep a roll on my commode, with a bow year round. Every new guest comments on what a nice touch this is in my washroom.
I completed the look by adding the fun Skelton hand under the tissue and some Halloween art in the frame that hangs above the toilet.
Hopefully, this will get you thinking about the theme and décor you will use. Do you have any Halloween decorating ideas? Post your comments below or your photos from your Halloween decor to Instagram with #LaDL #livingadesignedlife #grownuphalloween
Next week in our “Entertaining with Style: Grown Up Halloween” series we will be giving you Halloween recipes and garnish ideas for your food table.



Leave a Reply